Introduction
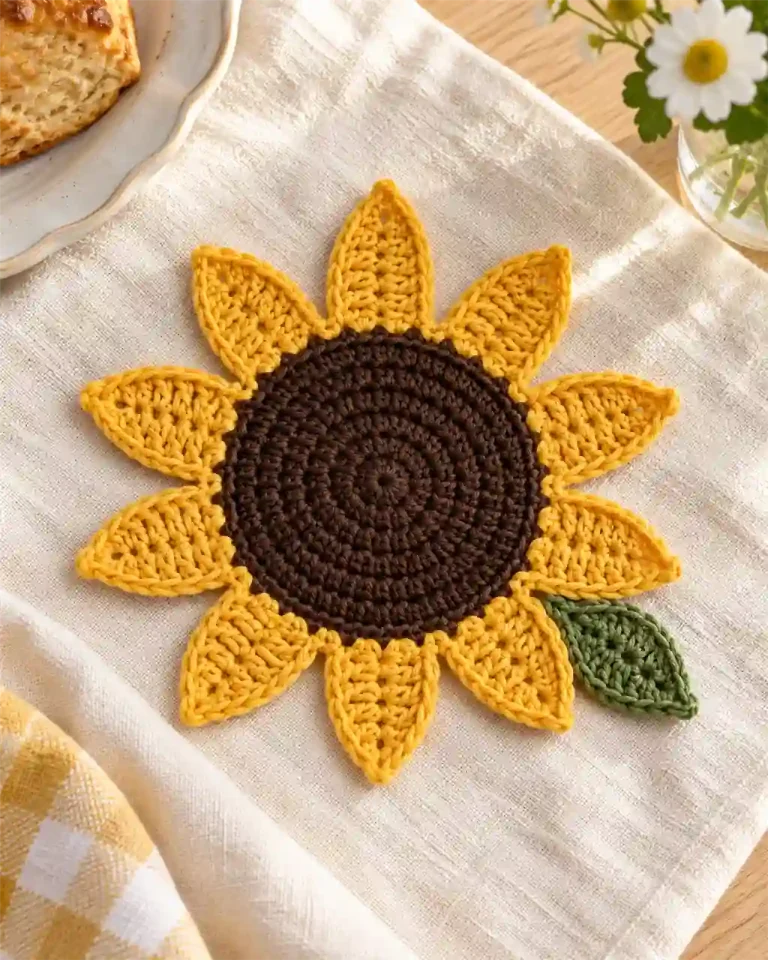
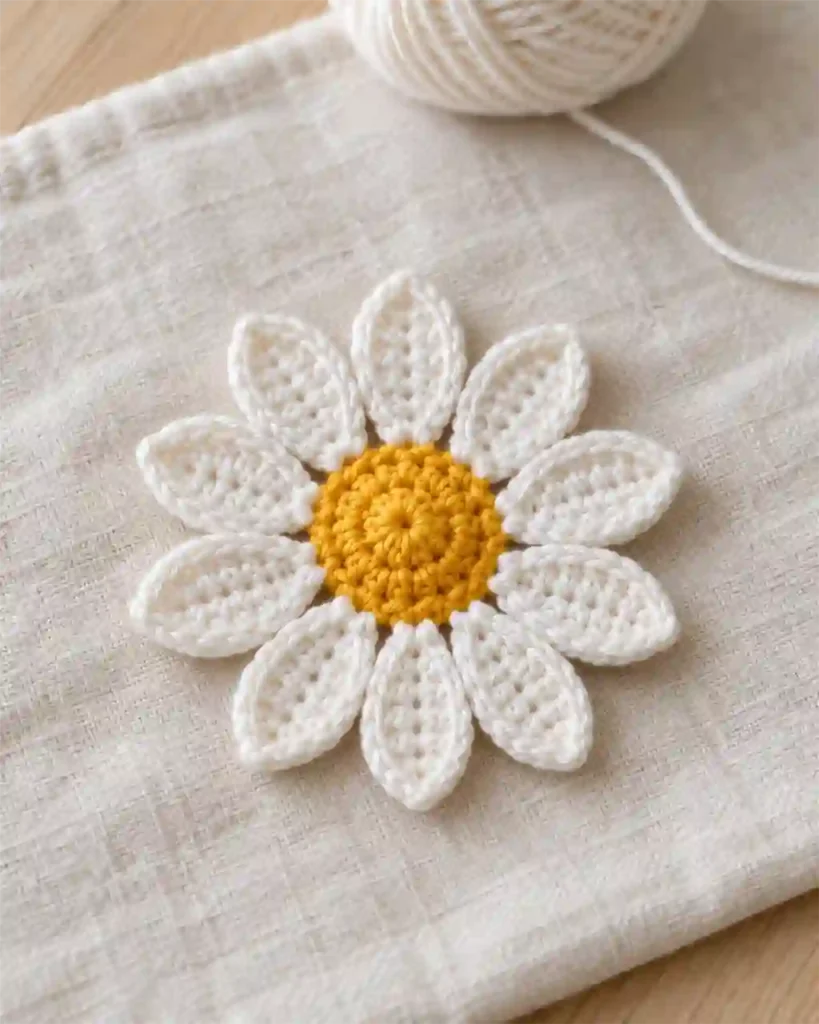
Daisy Crochet Flower Pattern projects turn small amounts of yarn into cheerful details for bags, blankets, and handmade gifts. This guide offers an independently drafted, untested flower with a yellow center and ten white petals. For two different constructions, explore Repeat Crafter Me’s daisy flower crochet patterns. You can also try our crochet sunflower coaster pattern for another floral project. Below, you will learn the center, petals, shaping, and attachment steps.
Daisy Crochet Flower Pattern at a Glance
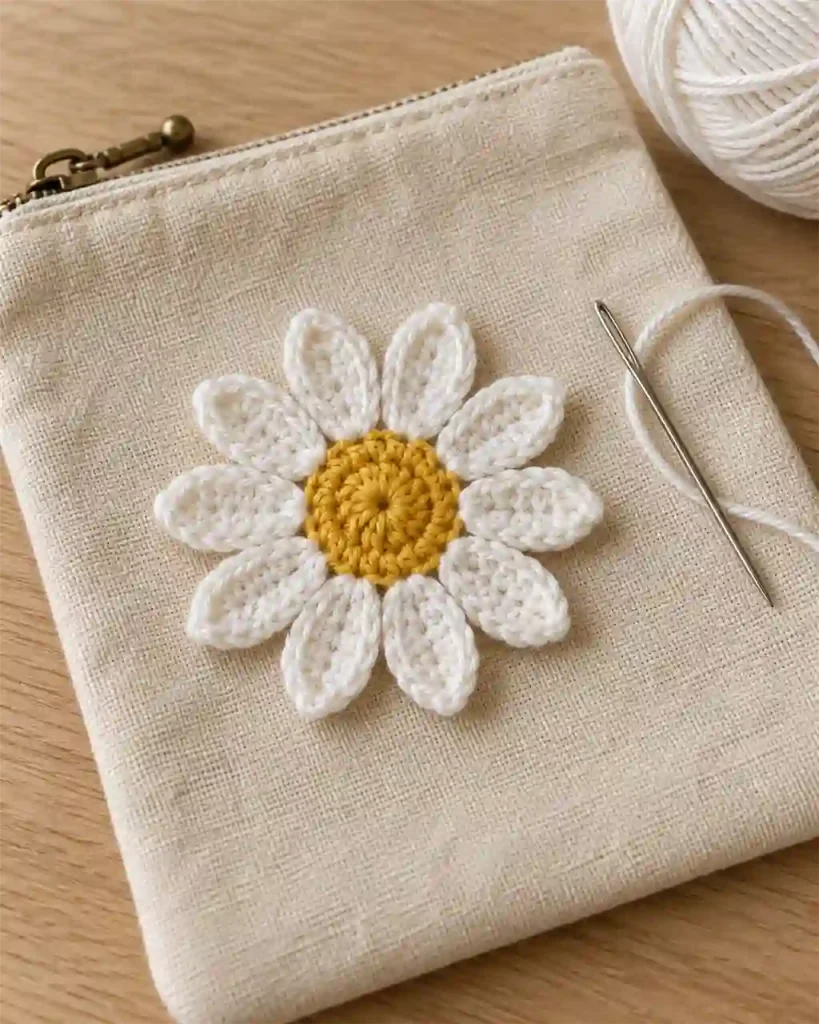
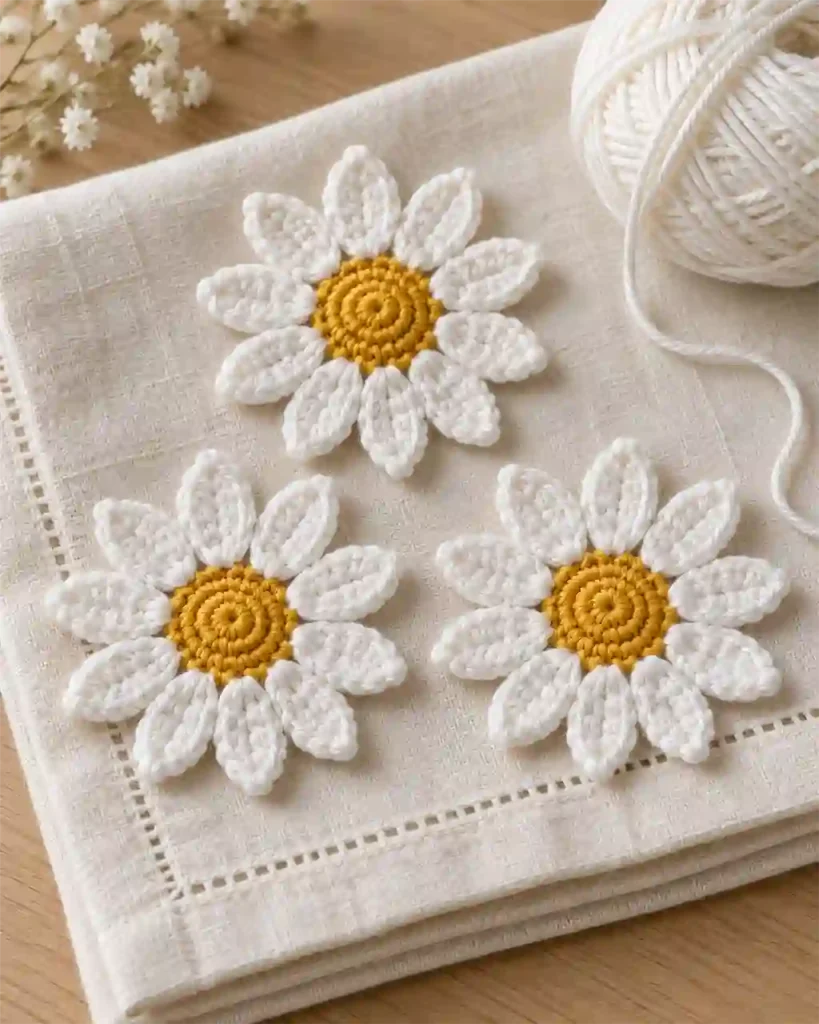
This Daisy Crochet Flower Pattern makes a small decorative applique rather than a stuffed flower or a square motif. Two yellow rounds create the center. A white round adds ten shell-shaped petals directly to its outer edge, so there are no individual petals to sew together.
The project suits confident beginners who can identify stitch tops, increase evenly, and work several stitches into one base stitch. Treble crochet adds height at the middle of each petal.
With category 3 cotton yarn and a 4 mm hook, an approximate planning size is 3–4 inches across, or 7.6–10.2 cm. This is an untested estimate, not a verified finished measurement. No tested completion time is available.
The linked designer’s six- and twelve-petal versions are separate patterns. This guide uses a different ten-petal shell construction. Make one sample before planning a matching set or attaching flowers permanently to a finished item.
Daisy Crochet Flower Pattern: Materials and yarn quantities
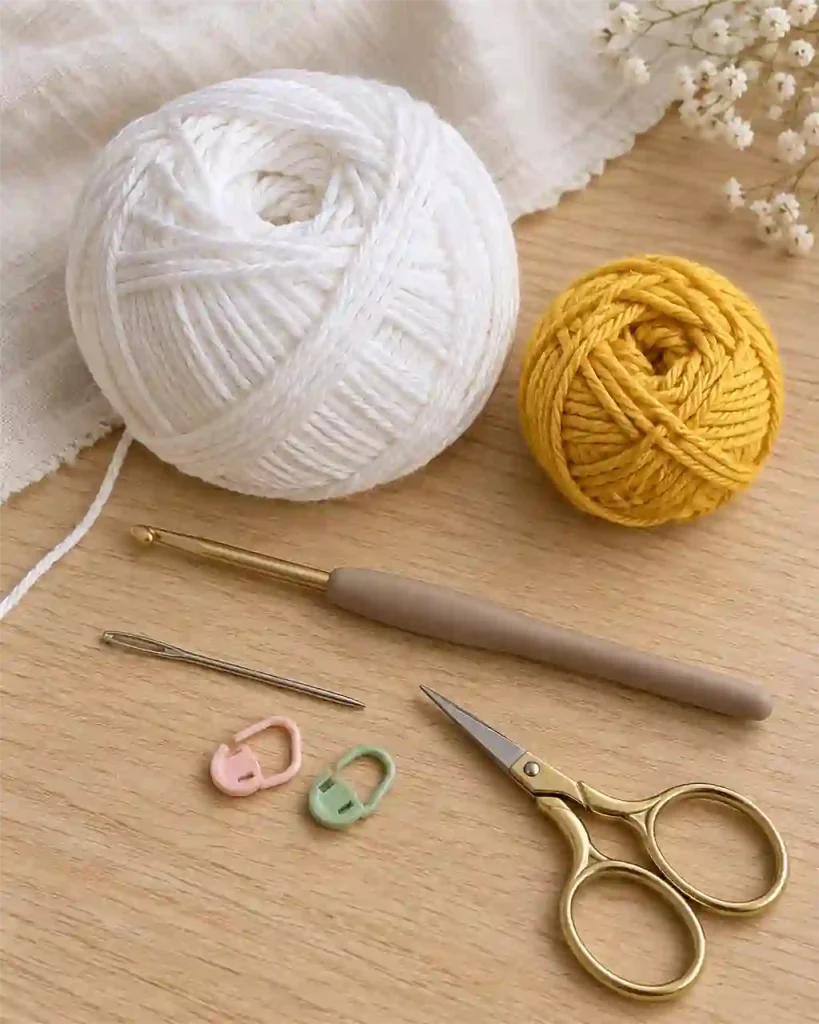
Prepare the following supplies for the Daisy Crochet Flower Pattern:
- Yellow cotton yarn: Category 3, light/DK weight, for the center.
- White cotton yarn: A similar thickness for the petals.
- Crochet hook: 4 mm as a starting size.
- Yarn needle: For securing tails and attaching the flower.
- Small scissors.
- Removable stitch marker: Optional, for identifying the first stitch.
- Ruler: For checking diameter when making several flowers.
Set aside approximately 3–5 yards of yellow yarn and 15–25 yards of white as untested preparation allowances. These ranges have not been measured from a finished sample. Yarn quantities in grams are omitted because different yarns have different length-to-weight ratios.
Smooth cotton makes the petal edges and stitch tops easier to see. If substituting acrylic or another fiber, choose yarns with compatible care requirements and similar thicknesses. The finished dimensions and feel may change. For an applique that will be sewn to washable clothing or a blanket, check that both the flower yarn and the background item can tolerate the same cleaning method.
Daisy Crochet Flower Pattern: Abbreviations and special stitches
This Daisy Crochet Flower Pattern uses US terminology:
- ch: Chain.
- sl st: Slip stitch.
- sc: Single crochet.
- dc: Double crochet.
- tr: Treble crochet.
- st/sts: Stitch/stitches.
A magic ring is an adjustable loop used to close the center. Work the first-round stitches into it, pull the tail to tighten, and secure that tail later.
For tr, yarn over twice, insert the hook, draw up a loop, then yarn over and pull through two loops three times.
Beginning ch-1 does not count as a stitch. Petal chains provide height and do not create additional yellow base stitches. Parentheses indicate instructions worked together into the same stitch or repeated as specified. Work through both top loops unless stated otherwise.
Daisy Crochet Flower Pattern Gauge, Size and Notes
Gauge is flexible for a decorative applique, but consistent tension matters when several flowers need to match. Make a sample, shape it using the intended care method, and measure it before beginning a larger set.
The Daisy Crochet Flower Pattern contains three rounds: 10 yellow sc, 20 yellow sc, and ten white petals. Each petal uses one yellow base stitch, followed by one skipped yellow stitch. That accounts for all 20 stitches around the center.
Work joined rounds without turning. Join the yellow rounds to the first actual sc rather than the starting chain. Avoid adding a stitch into the joining slip stitch on the next round.
The approximate 3–4-inch diameter depends on yarn and tension. Measure from one petal tip to the opposite tip after shaping. Do not stretch the flower to force a particular size; its intended use should guide whether a sample is suitable.
Daisy Crochet Flower Pattern: Method overview
Begin with the yellow center and count it carefully before changing colors. A small ring becomes a wider disk after the second round, giving the white petal round an even number of attachment stitches.
Each petal grows from one base stitch. Short chains lift the working yarn, several tall stitches form the curved body, and another short chain returns toward the center. A slip stitch finishes the petal at its base.
The Daisy Crochet Flower Pattern skips one yellow stitch between petal bases. This spacing keeps ten petals distributed around the circle without needing separate chain loops or individually sewn pieces.
After crocheting, spread and shape the petals. Secure the yarn ends, then decide whether the flower will remain loose as a decorative motif or be sewn to a background. Choose attachment points before sewing so the petals lie in the direction you prefer.
Daisy Crochet Flower Pattern: Step-by-Step Tutorial
Crochet the Yellow Center
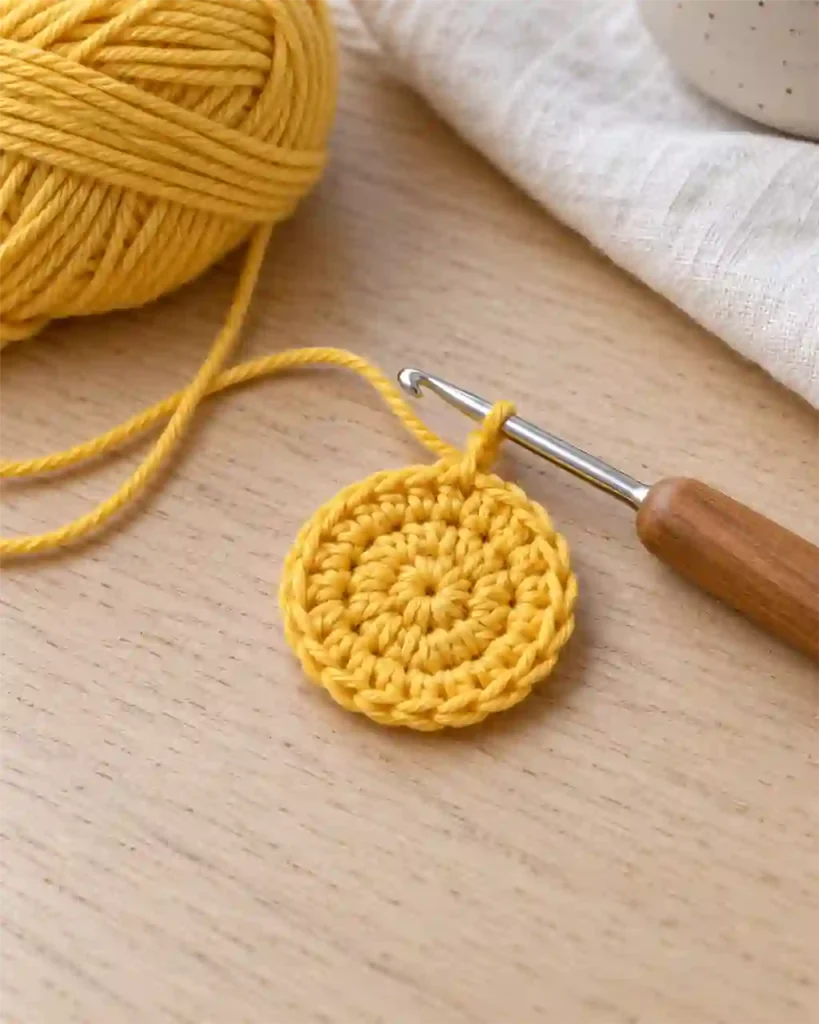
With yellow yarn, make a magic ring. Leave a starting tail long enough to secure through several stitches.
- Round 1: Ch 1 and work 10 sc into the ring. Join with a sl st to the first sc. Tighten the ring. [10 sc]
- Round 2: Ch 1 and work 2 sc into each stitch around. Join with a sl st to the first sc. [20 sc]
- Fasten off yellow yarn.
The ch-1 does not replace the first sc. At the beginning of Round 2, the first pair of sc goes into the same stitch beneath the chain.
Lay the center on the table and count its outer stitch tops. Identify 20 actual sc, keeping the joining slip stitch out of the count. The Daisy Crochet Flower Pattern needs that total for its ten-petal arrangement.
If the center is strongly distorted, check the count and tension before proceeding. Leave the ends accessible until you have confirmed the center is suitable, then secure the magic-ring tail on the reverse.
Work the Ten White Shell Petals
Join white yarn in any yellow sc. That yellow stitch becomes the first petal base.
Round 3: Work the following complete petal into its base stitch:
- Sl st into the yellow base, using the joining sl st for the first petal.
- Ch 2.
- Work 2 dc into the same yellow base stitch.
- Work 1 tr into that same base stitch.
- Work 2 more dc into the same base stitch.
- Ch 2, then sl st back into the same yellow base stitch.
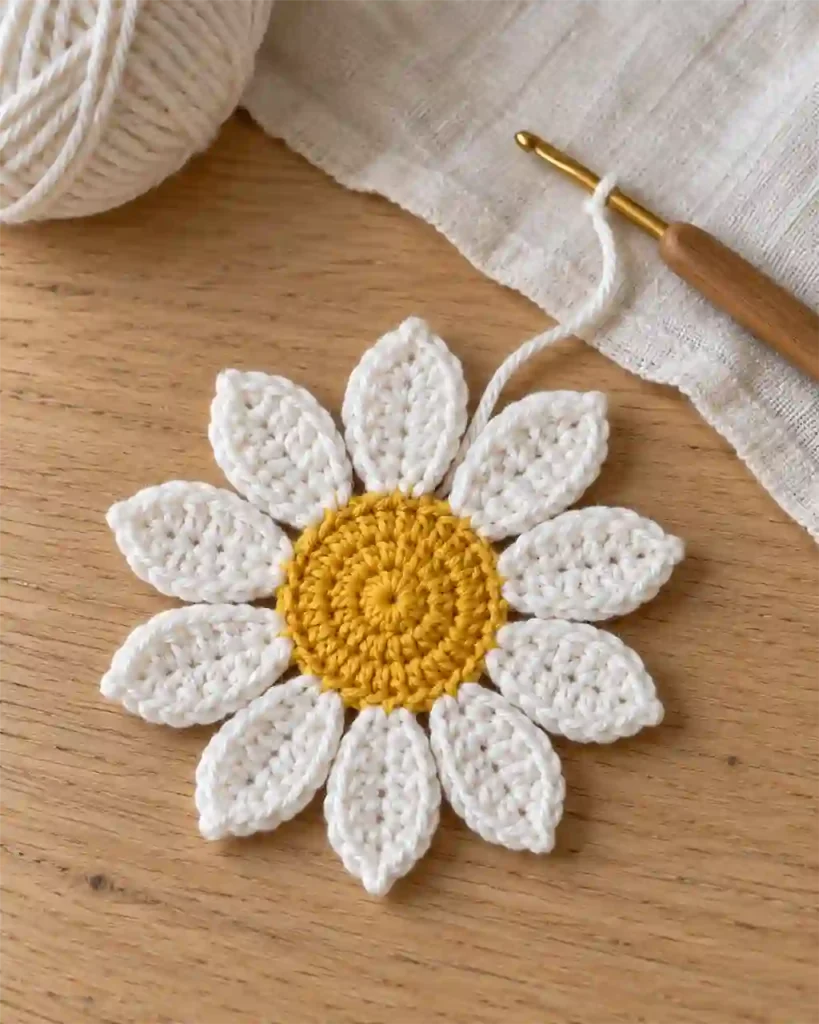
Skip the next yellow stitch. In the following unused yellow stitch, repeat the complete petal sequence. Continue until you have 10 petals. After the final petal, skip the last yellow stitch and join to the first white anchoring sl st. Fasten off.
Each petal contains 4 dc and 1 tr, plus its lifting and returning chains. Across the round, that gives 40 dc and 10 tr in ten shells.
For this Daisy Crochet Flower Pattern, avoid treating the skipped stitches as additional petal bases. Keep the anchoring slip stitches relaxed so they do not pull the center tightly inward.
Shape the Petals and Check the Flower
Place the flower on a level surface and count the petals once more. Separate them gently with your fingers, arranging the taller tr near the outer tip of each shell.
Check where the white stitches enter the yellow center. A crowded area may indicate that two petals were worked into the same base. A wide empty area can indicate an extra skipped stitch. Correct those placement errors before blocking.
The Daisy Crochet Flower Pattern may need light shaping, depending on the yarn. If the labels permit damp blocking, moisten the flower lightly, arrange it on a clean towel, and leave it to dry. Keep the yellow center round and spread the white petals without pulling hard.
Do not assume every fiber responds to heat in the same way. Avoid direct ironing unless the yarn label specifically supports the method.
Once dry, compare its size with the intended background. Finish the tails before sewing, retaining a separate length of white yarn if you plan to attach the petals.
Daisy Crochet Flower Pattern: Assembly
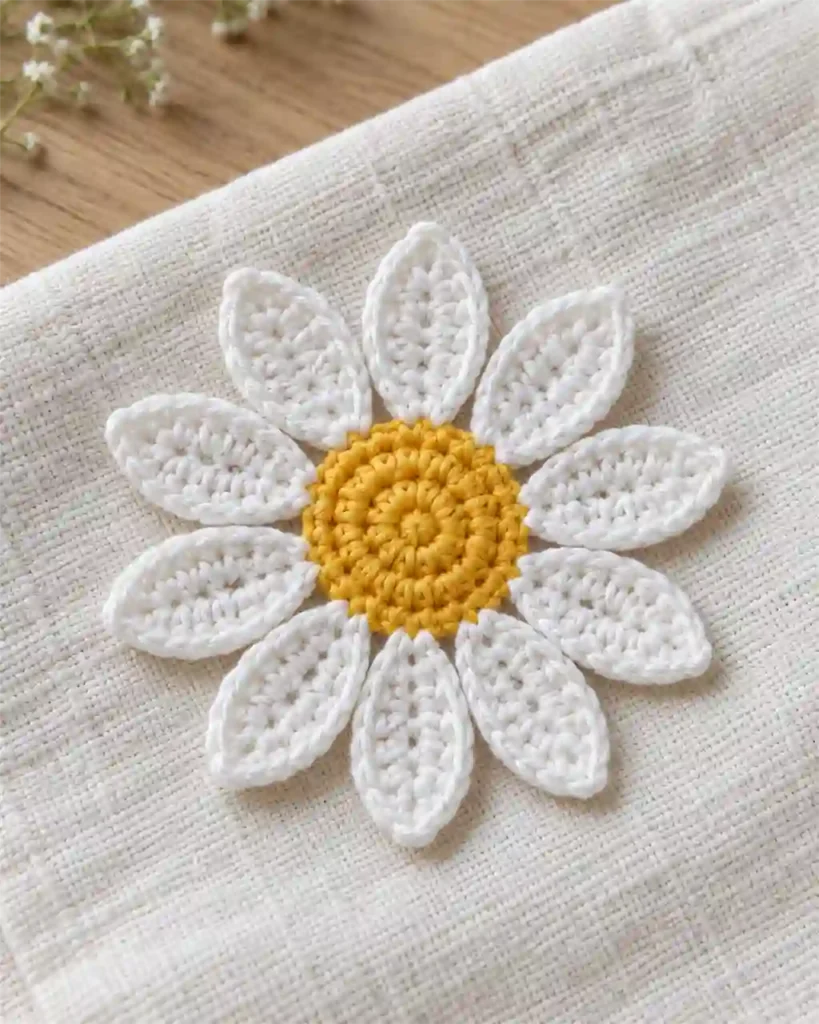
The flower is already one connected piece. Assembly means attaching the finished motif to another item when desired; there are no loose petals or separate center pieces to join.
Position the flower on the background and check the placement from the front. For a bag or pouch, keep the needle clear of the opposite fabric layer so you do not sew the item closed.
With white yarn and a suitable needle, make small stitches beneath several petal bases. Catch secure background strands without pulling the motif into a gathered shape. Tack selected petal tips if they could snag during use.
Attach the Daisy Crochet Flower Pattern more thoroughly on frequently handled items than on a display piece. Keep the reverse tidy and secure the sewing tail with several direction changes. For a loose decorative motif, omit this sewing stage and finish only the yarn ends. Check the attachment again after the item’s first cleaning.
Daisy Crochet Flower Pattern: Finishing and care
Weave the yellow tails through the yellow stitches on the reverse, changing direction before trimming. Hide white ends beneath white stitch bases where practical. Avoid making a thick knot directly in the middle of the flower.
Care for the Daisy Crochet Flower Pattern according to its yarn labels and the item it is attached to. The more delicate component should determine the cleaning method. Test the yellow yarn for color bleeding before wetting it beside the white petals.
After washing, gently arrange the petals and dry as the fiber instructions recommend. Store loose flowers flat or in a shallow container so the petal edges are not crushed.
Before gifting the finished item, inspect the center closure, sewing tails, and attachment points. Remove any temporary markers and check that all sewing needles have been put away.
FAQs and Troubleshooting for Daisy Crochet Flower Pattern
1. Why do I have nine or eleven petals?
Start by recounting the center: Round 2 needs 20 sc. Each petal uses one base followed by one skipped stitch. Work into alternate yellow stitches consistently. If the center count is correct, look for a repeated base or an extra skipped stitch before remaking the white round.
2. Why do the petals curl or crowd together?
Check the placement and make sure the anchoring slip stitches are not extremely tight. Ten tall shells occupy a small circle, so tension affects how they spread. Gentle fiber-appropriate shaping may help. If the flower remains strongly distorted, make another sample with adjusted tension rather than stretching it forcefully.
3. Can I use worsted yarn instead of DK?
Yes, as an experiment with a suitable hook. The finished flower will usually be larger, and the stated size and yarn allowances will no longer apply. Keep both colors at a similar thickness. Make a sample to check the petal spacing and the amount of background space the flower occupies.
4. How can I make a smaller flower?
Try finer yarn and an appropriately smaller hook while keeping the stitch counts unchanged. This preserves the relationship between the center and its ten petals. Shortening only the petal chains changes their shape and can make the tall stitches bunch up, so it is not a direct size adjustment.
5. Can I wash a flower after sewing it onto a bag?
Check the care instructions for both the yarn and the bag. Test colors first, secure all tails, and avoid a cleaning method that damages either material. Protect raised petals from snagging. Reshape the flower gently afterward if the fiber permits, then inspect the sewing points before using the bag again.
Final Thoughts
This Daisy Crochet Flower Pattern brings together a small yellow center and a ring of white shell petals in one connected applique. Count the center before changing colors, keep the petal bases evenly spaced, and take time to shape the finished flower. Because this independently drafted version has not been tested, make one sample before creating a full set or decorating a finished garment. Record the yarn, hook, and any tension changes that give you a result you like. For a different floral construction, explore the crochet sunflower coaster pattern and plan a coordinating handmade gift.