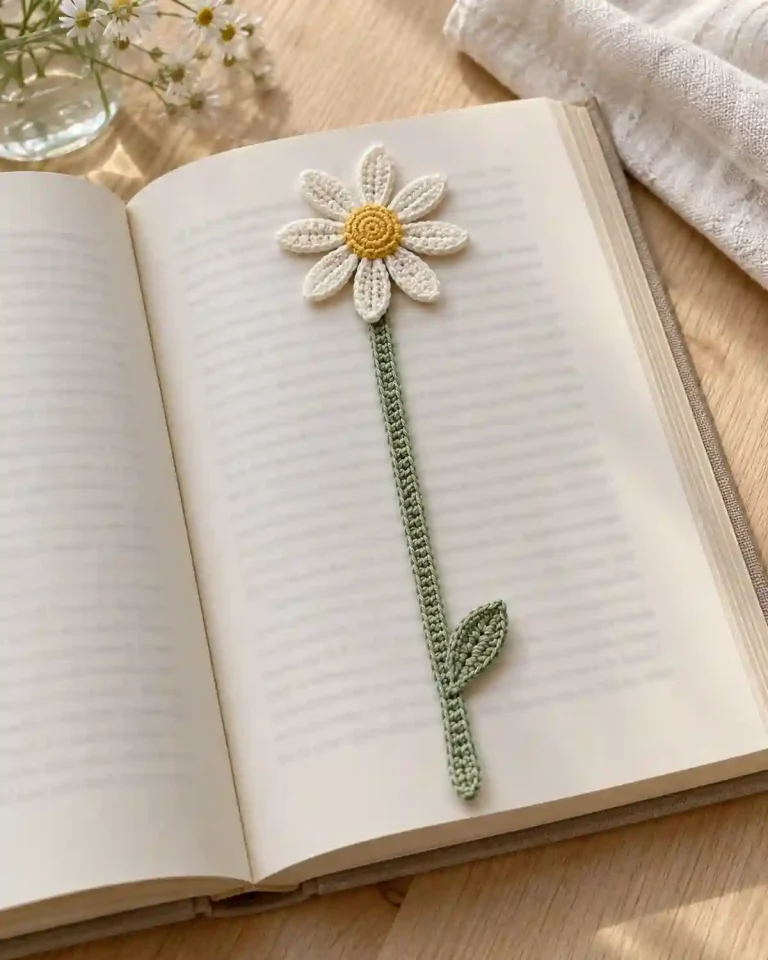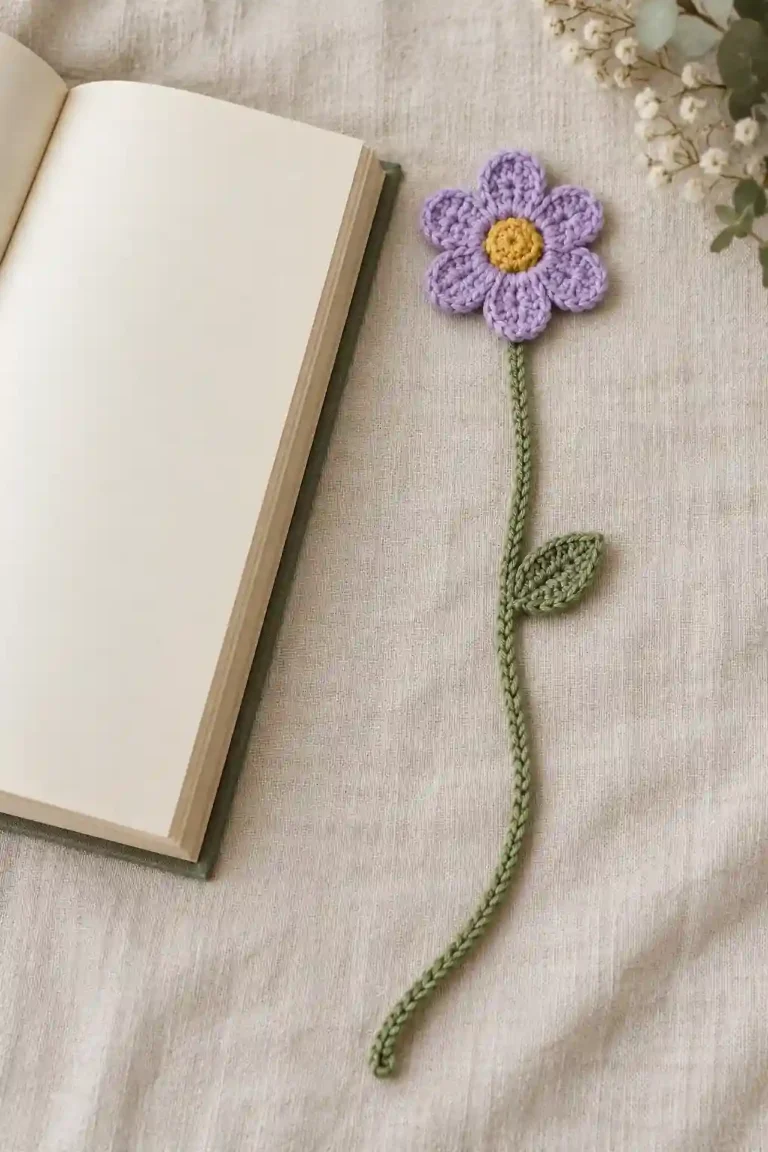
Crochet Daisy Granny Square Pattern projects combine a cheerful flower with a useful square motif. This guide offers an independently drafted version with a sewn-on daisy and a solid background; it is untested. For an integrated flower, explore Adorecrea’s solid daisy granny square pattern. You can also try our crochet flower bookmark pattern or easy crochet phone pouch for beginners for related small projects.
Crochet Daisy Granny Square Pattern at a Glance
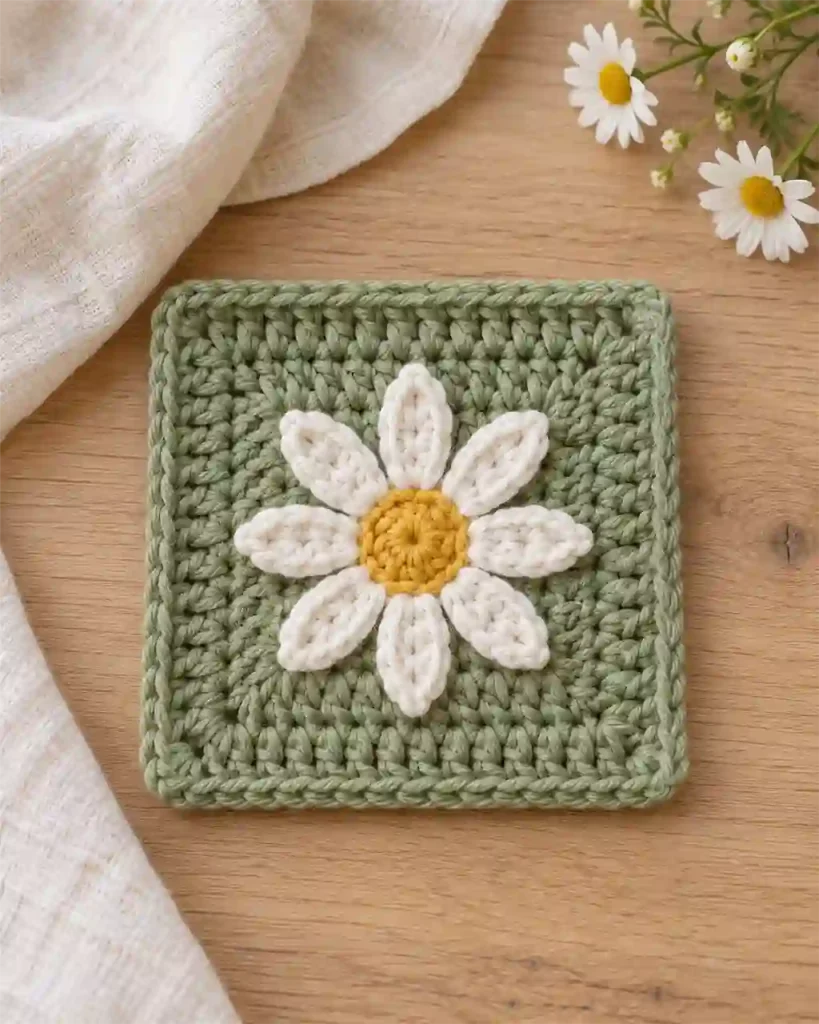
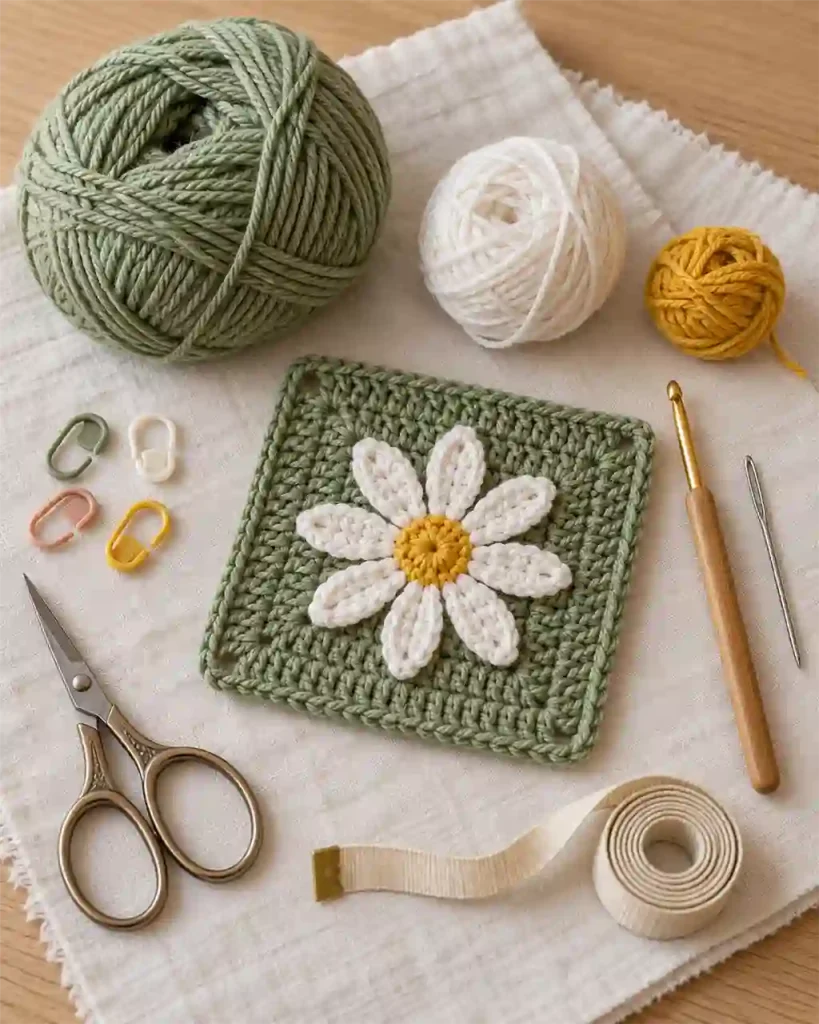
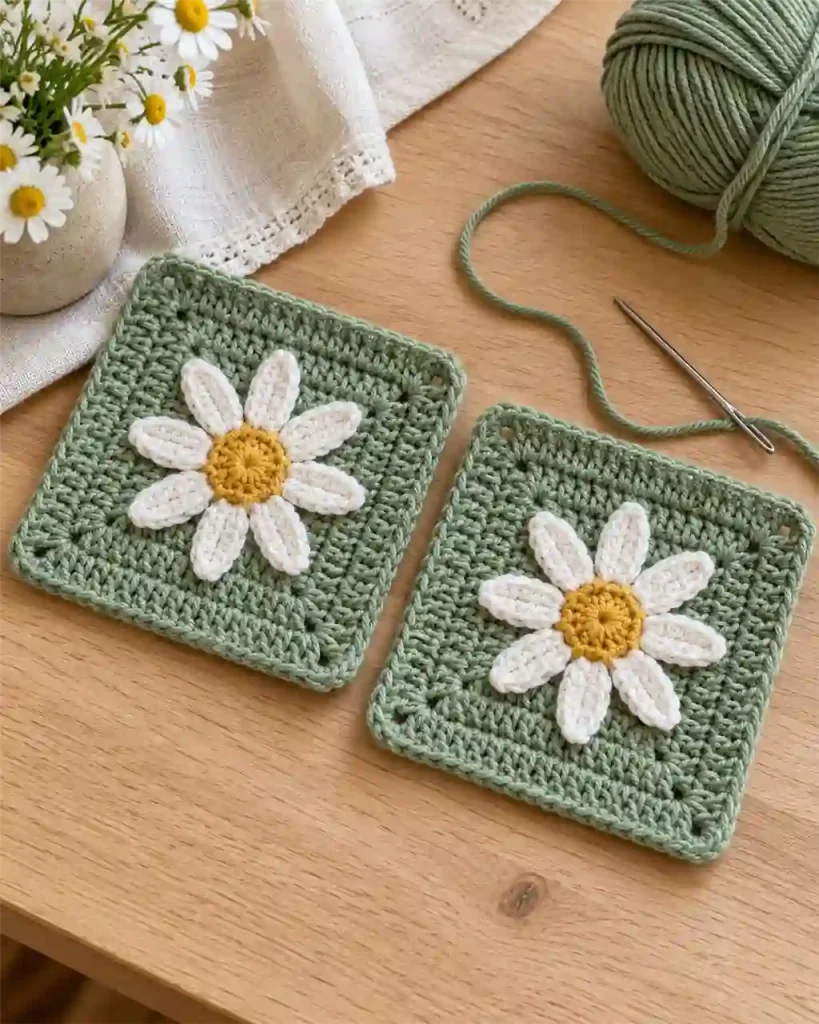
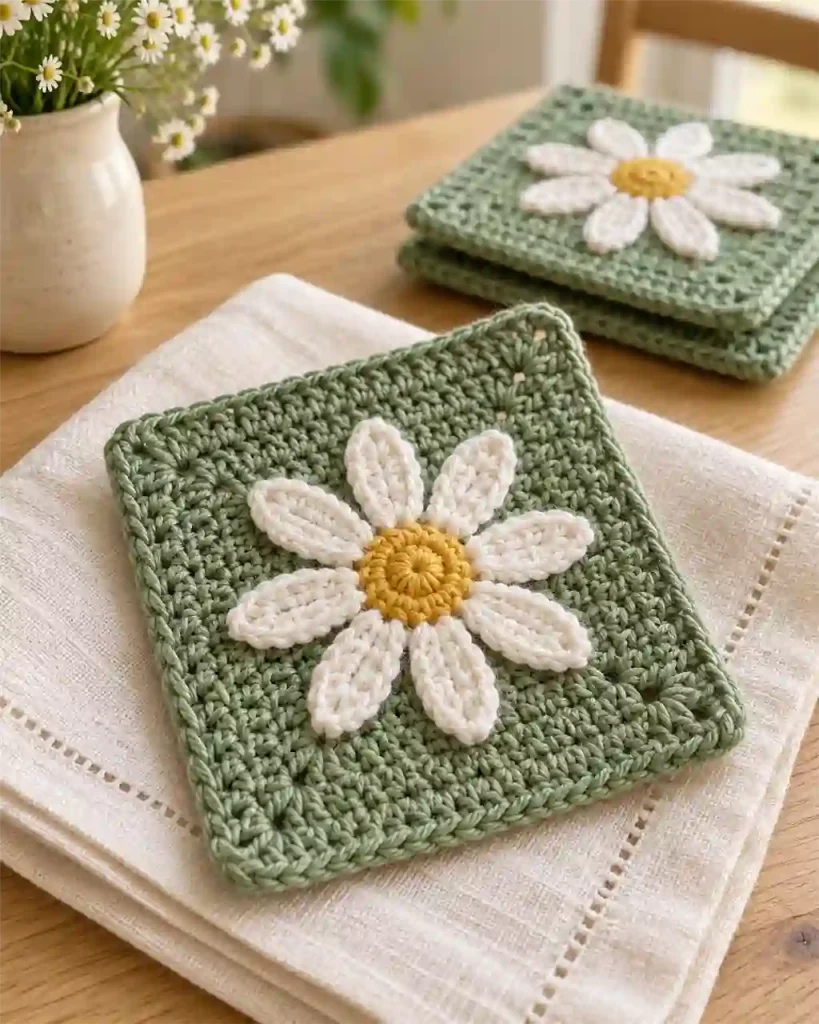
This Crochet Daisy Granny Square Pattern uses three colors: yellow for the center, white for the petals, and a background shade of your choice. The flower is made separately and sewn onto a five-round solid square. This construction makes it easier to adjust the flower’s position before attaching it.
The project suits confident beginners who can work joined rounds, identify corner spaces, and sew through crochet fabric. The square uses double crochet; the flower introduces single crochet, half double crochet, and short chain-based petals.
With category 4 yarn and a 5 mm hook, an approximate planning size is 5–6½ inches square, or 12.7–16.5 cm. That range is untested, not a guaranteed finished measurement. No verified making time is available. Make one sample before calculating quantities for a blanket or bag, and choose a repeatable square size before joining multiple motifs.
Crochet Daisy Granny Square Pattern: Materials and yarn quantities
Prepare these supplies for the Crochet Daisy Granny Square Pattern:
- Background yarn: Smooth category 4 yarn, approximately 30–45 yards as an untested allowance.
- White yarn: Approximately 8–12 yards for eight petals, also an untested allowance.
- Yellow yarn: Approximately 2–4 yards for the flower center and its secured tails.
- Hook: 5 mm as a starting size.
- Yarn needle: For attaching the flower and hiding ends.
- Scissors.
- Four removable markers: Optional, for identifying corners.
- Ruler or measuring tape.
These yarn amounts are preparation estimates rather than measured consumption. Grams are omitted because the relationship between weight and length varies by yarn.
Use similar yarn thicknesses for all three colors so the flower and background remain in proportion. A smooth, light-colored practice yarn makes stitch placement easier to see. Cotton can produce a defined motif; acrylic offers another option when its care requirements suit the final project. Avoid mixing fibers with very different washing or shrinkage behavior in a joined item.
Crochet Daisy Granny Square Pattern: Abbreviations and special stitches
This Crochet Daisy Granny Square Pattern uses US terminology:
- ch: Chain.
- sl st: Slip stitch.
- sc: Single crochet.
- hdc: Half double crochet.
- dc: Double crochet.
- st/sts: Stitch/stitches.
A magic ring is an adjustable loop into which the first-round stitches are worked. Close it by pulling the starting tail, then secure the tail during finishing.
For hdc, yarn over, insert the hook, draw up a loop, then yarn over and pull through all three loops.
For dc, yarn over, insert the hook, draw up a loop, then yarn over and pull through two loops twice.
On the square, beginning ch-3 counts as one dc. Corner ch-2 spaces are counted separately from dc stitches. Parentheses describe grouped instructions or a repeated sequence.
Crochet Daisy Granny Square Pattern Gauge, Size and Notes
Gauge is flexible for one decorative motif. For a joined project, consistent size matters more: make a sample, block it using the intended care method, and measure it before producing a set.
The Crochet Daisy Granny Square Pattern has five background rounds and a separate two-round flower. All rounds are joined without turning. Work into both loops of each dc unless another placement is specified.
Measure the square horizontally through its center, excluding any temporary distortion from pulling the corners. The estimated 5–6½-inch size depends on yarn and tension; the drafted instructions have not been physically tested.
Each background round adds four dc to every side. Side counts are 3, 7, 11, 15, and 19 dc for Rounds 1–5. These counts run between corner spaces and include the stitches worked into those corners. The flower has eight petals; it does not use the linked source’s integrated construction.
Crochet Daisy Granny Square Pattern: Method overview
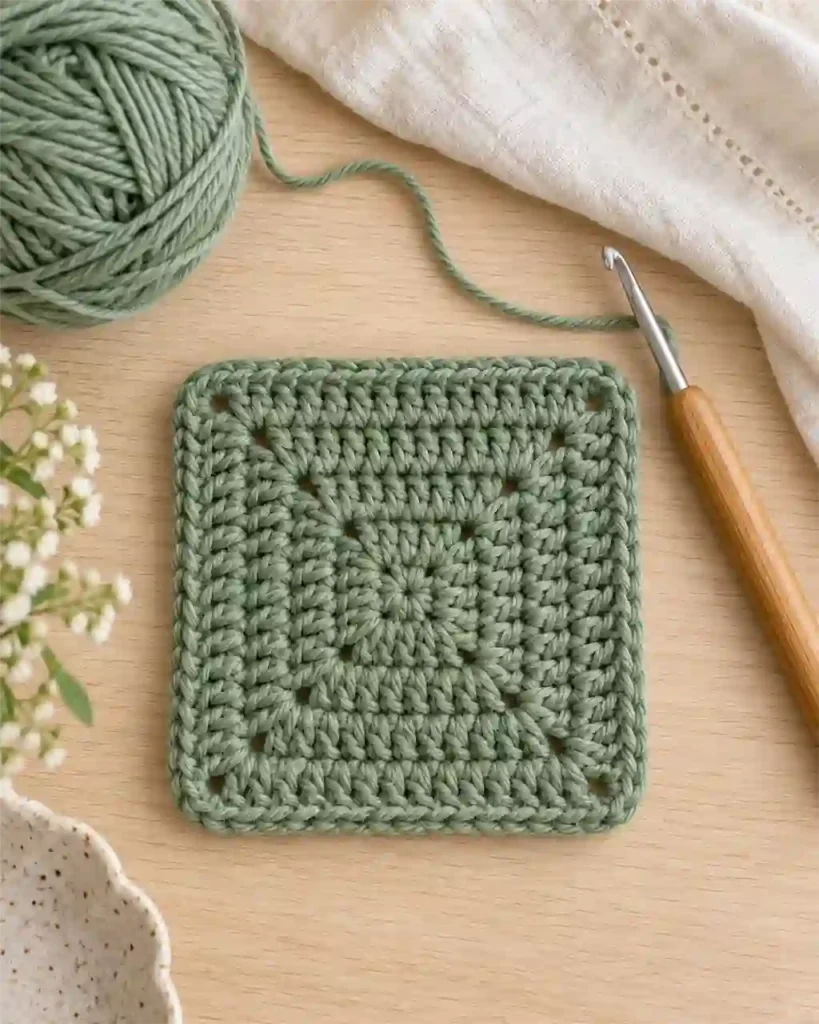
Start with the background square. Four groups of double crochet establish the sides, separated by four corner spaces. Each later round places a dc into every existing dc, then adds stitches within each corner to preserve the square shape.
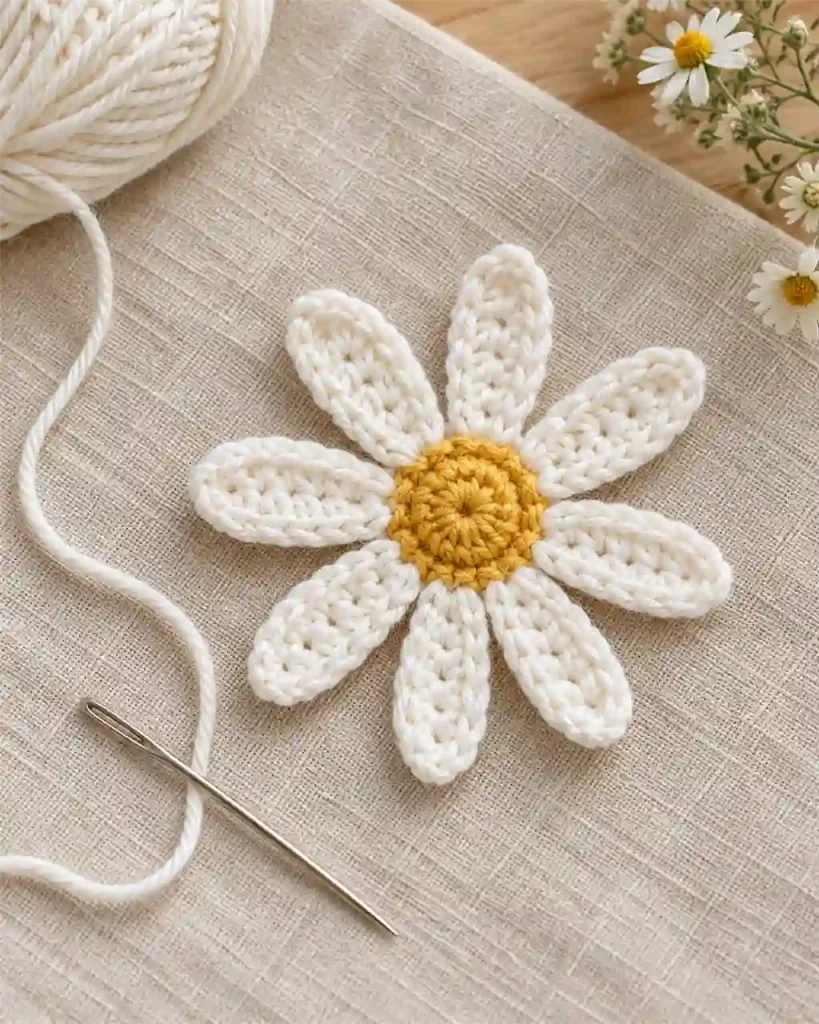
Next, make the yellow center. Attach white yarn and build eight narrow petals from short chains. Each petal returns along its chain and anchors back into the center, so it can lie outward like a spoke.
Block the background before sewing on the flower. This helps you see its final proportions and gives you a flat surface for placement.
The Crochet Daisy Granny Square Pattern finishes with small sewing stitches beneath the flower. Secure the center first, then arrange and tack the petal tips. The square’s outside edge stays clear, making it easier to join to other motifs later.
Crochet Daisy Granny Square Pattern: Step-by-Step Tutorial
Make the Solid Background Square
Use the background color. Make a magic ring.
Round 1: Ch 3, work 2 dc into the ring, then ch 2. Work (3 dc, ch 2) three more times into the ring. Join with a sl st to the top of the beginning ch-3. Tighten the ring. You have 12 dc and four ch-2 corner spaces, with 3 dc on each side.
For each subsequent round, begin with ch 3 to replace the dc in the stitch directly beneath it. Dc in every remaining dc around, working (2 dc, ch 2, 2 dc) in each corner space. Join to the top of the beginning ch-3.
Continue through these totals:
- Round 2: 28 dc; 7 per side.
- Round 3: 44 dc; 11 per side.
- Round 4: 60 dc; 15 per side.
- Round 5: 76 dc; 19 per side.
Every round retains four corner spaces. Fasten off. For this Crochet Daisy Granny Square Pattern, count the sides before hiding the background tails.
Crochet the Yellow Center and White Petals
Flower Round 1: With yellow yarn, make a magic ring and work 8 sc into it. Join with a sl st to the first sc. Tighten the ring and fasten off. You have 8 sc.
Flower Round 2: Join white yarn with a sl st into any yellow sc. Make the first petal as follows:
- Ch 5.
- Sc in the second chain from the hook.
- Hdc in the next chain.
- Dc in the next chain.
- Hdc in the last chain.
- Sl st back into the same yellow sc where the chain began.
For each remaining petal, sl st into the next yellow sc, then repeat Steps 1–6. Stop after using each of the eight yellow stitches once. You have 8 petals, each containing four return stitches along its chain.
Fasten off after the final anchor. Keep a white sewing tail of approximately 24 inches; use a fresh length if needed rather than pulling a short tail tight.
The petals of this Crochet Daisy Granny Square Pattern are slender chain-based shapes, not clusters. Spread them gently without stretching the center.
Position and Secure the Daisy
Block the background according to the yarn label and allow it to dry before attaching the flower. Do not sew it down while the square is pinned under tension.
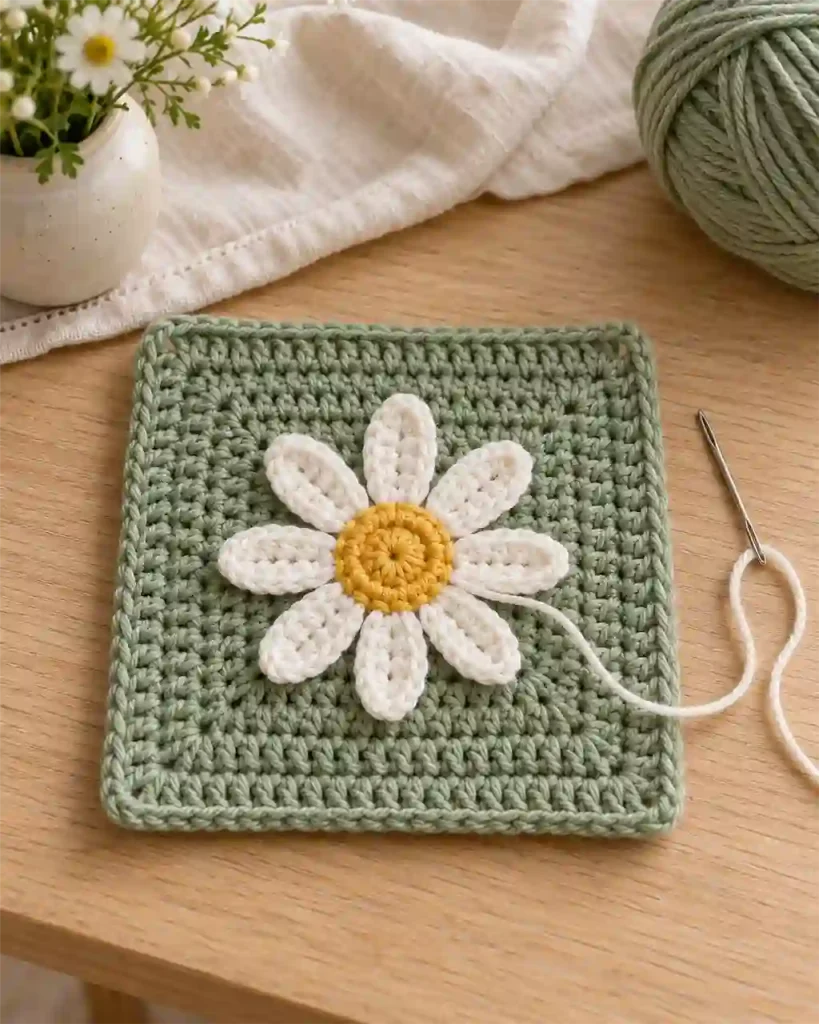
Find the square’s center and place the yellow circle over it. Arrange the petals evenly, leaving the outer background rounds visible. Turn the square through several orientations to check the placement.
Thread the white tail onto a yarn needle. Sew small stitches beneath the inner ends of the petals, catching strands from the background without pulling through to create prominent marks on its front.
Next, tack each petal tip with one or two discreet stitches. Keep the petal edges relaxed. The flower should rest on the square without gathering the background.
This Crochet Daisy Granny Square Pattern has a raised appliqué surface. Check that the tips are attached securely enough for the intended use, especially on a bag that will receive regular handling. Secure the sewing tail on the reverse and weave it in through several stitches.
Crochet Daisy Granny Square Pattern: Assembly
One motif needs no further joining. For a larger item, finish and block all squares before arranging them. Compare side lengths and confirm each five-round background has 19 dc between its corner spaces.
Lay out the motifs with their flowers facing upward. Choose an arrangement before joining, particularly if the background colors vary.
For a simple sewn seam, place two squares with right sides together and align the corner spaces. Using a separate background-colored yarn length, whipstitch through corresponding outer-edge stitches. Keep the seam loose enough that the joined edge retains its length. Secure the ends, then open the squares flat.
Joining this Crochet Daisy Granny Square Pattern should not catch the daisy petals in the seam. They belong within the square’s surface. When creating multiple rows, keep the joining method consistent and avoid repeatedly sewing through the same corner until it becomes bulky.
Crochet Daisy Granny Square Pattern: Finishing and care
Weave in each tail on the reverse, passing through several stitches and changing direction. Secure the magic-ring tails carefully so neither the background center nor the flower center loosens.
Check the flower attachment by lifting each petal gently. Add a small tack where a tip can snag easily. Trim yarn only after confirming the attachments are secure.
Care for the Crochet Daisy Granny Square Pattern according to all yarn labels, choosing a method suitable for the most delicate fiber used. Test bright colors for bleeding before wet blocking a white-petaled flower.
Shape the square gently rather than stretching it into position. If a finished item can be washed, reshape it while damp and dry it as the yarn instructions recommend. Avoid direct heat on heat-sensitive fibers and keep the raised petals from being crushed during storage.
FAQs and Troubleshooting for Crochet Daisy Granny Square Pattern
1. Why do my side counts differ?
Check the starting ch-3: it replaces one dc and does not need an additional dc in the stitch underneath. Also check each corner contains two dc, ch 2, and two dc. A missed or extra corner stitch changes the neighboring side count. Recount before beginning the next round.
2. Why does the square cup or ripple?
Confirm the counts before adjusting tension. Too few stitches can pull the edges inward; extra stitches can create waves. If counts are correct, assess whether the corner chains are very tight or the starting ring is distorted. Mild shaping can be blocked, but blocking should not disguise a counting error.
3. Can I substitute another yarn?
Yes. Use comparable thicknesses across all colors and choose a suitable hook. A finer yarn makes a smaller motif; a thicker yarn changes both size and texture. Make a sample to check how much space the flower occupies on the background. The stated yarn allowances may no longer apply.
4. How do I enlarge the square?
Continue the background formula: dc into every dc and work the same corner group in each corner space. Each extra round adds 16 dc overall, or four per side. Round 6 therefore has 92 dc, with 23 per side, plus four corner spaces. Keep the flower size unchanged or plan a separate experiment.
5. Can I use the motif as a coaster?
The raised flower can make a cup less stable, so test it carefully with an empty cup first. A flat, undecorated square is a more predictable base. Choose yarn and cleaning methods suited to the intended use, and avoid treating this untested decorative motif as a heat-protection pad.
Final Thoughts
This Crochet Daisy Granny Square Pattern lets you practice a solid square and a separate flower before bringing them together. Keep the background counts consistent, arrange the petals before sewing, and secure the center tails thoroughly. Make one sample before planning a larger project: yarn choice, tension, and blocking all affect the result. Once you are happy with the proportions, record your hook and yarn so later motifs match. For another way to use a floral crochet detail, explore the crochet flower bookmark pattern and build a small coordinating handmade gift set.