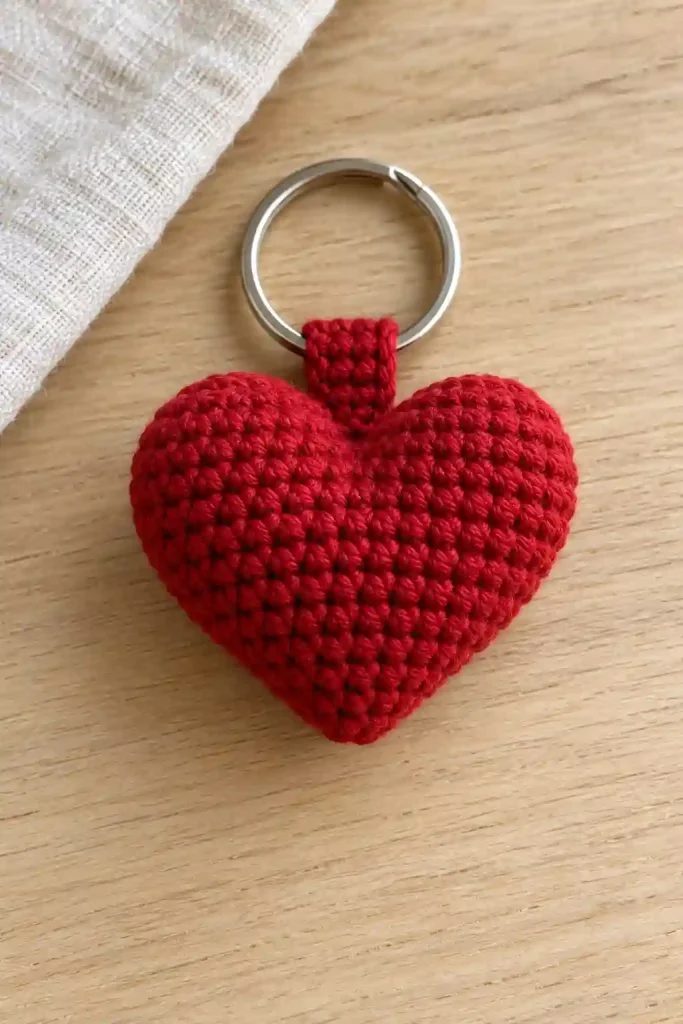
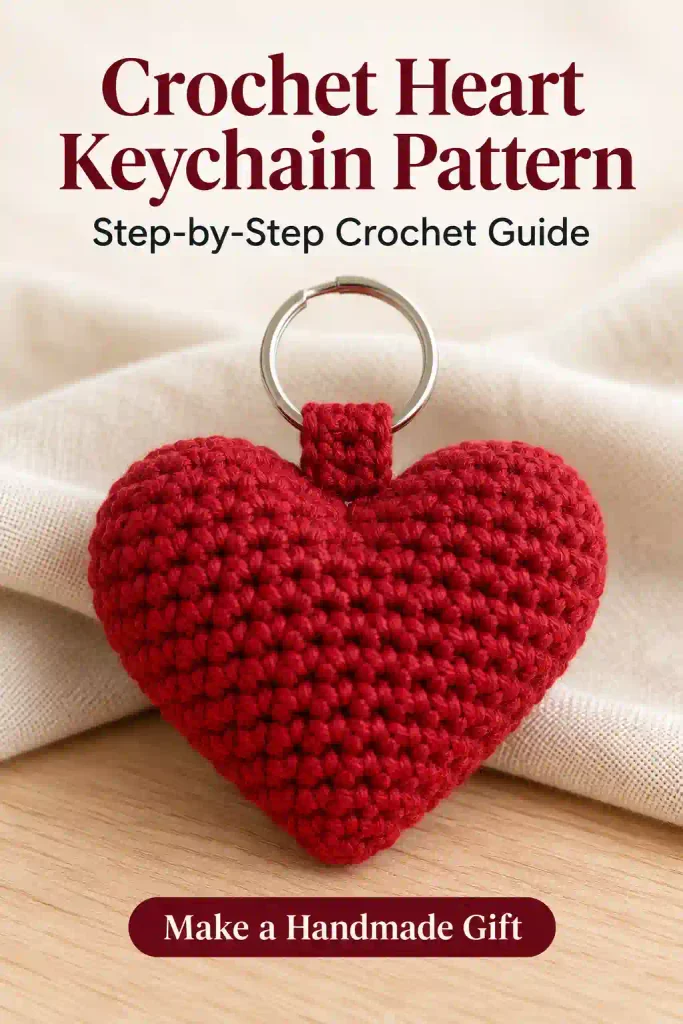
Crochet Heart Keychain Pattern projects turn leftover yarn into small, personal gifts. This design creates a softly stuffed heart with rounded upper lobes, a tapered bottom, and a crocheted tab that holds a metal key ring. You will learn how to make matching cups, join them, shape the body, and secure the attachment. These independently drafted instructions are untested, so the finished dimensions and yarn quantities are approximate planning estimates.
Crochet Heart Keychain Pattern at a Glance
This project suits confident beginners who can work single crochet, increases, and invisible decreases. The most demanding stage is joining two small cups while maintaining the correct stitch count.
The Crochet Heart Keychain Pattern begins with two twelve-stitch cups. Their openings combine into a twenty-four-stitch round, which gradually narrows toward the bottom. A separate rectangular tab folds through a split ring and attaches to the upper back.
Use DK yarn and a 3 mm hook as your starting combination. The estimated heart measures approximately 2 inches wide and 2 inches tall, excluding the tab and hardware. Actual proportions depend on your yarn, tension, and stuffing.
Gauge is less critical than dense, even fabric. Make one sample before preparing a matching set. Allow an unhurried session for the crochet work and additional time for sewing; a reliable completion time has not been established.
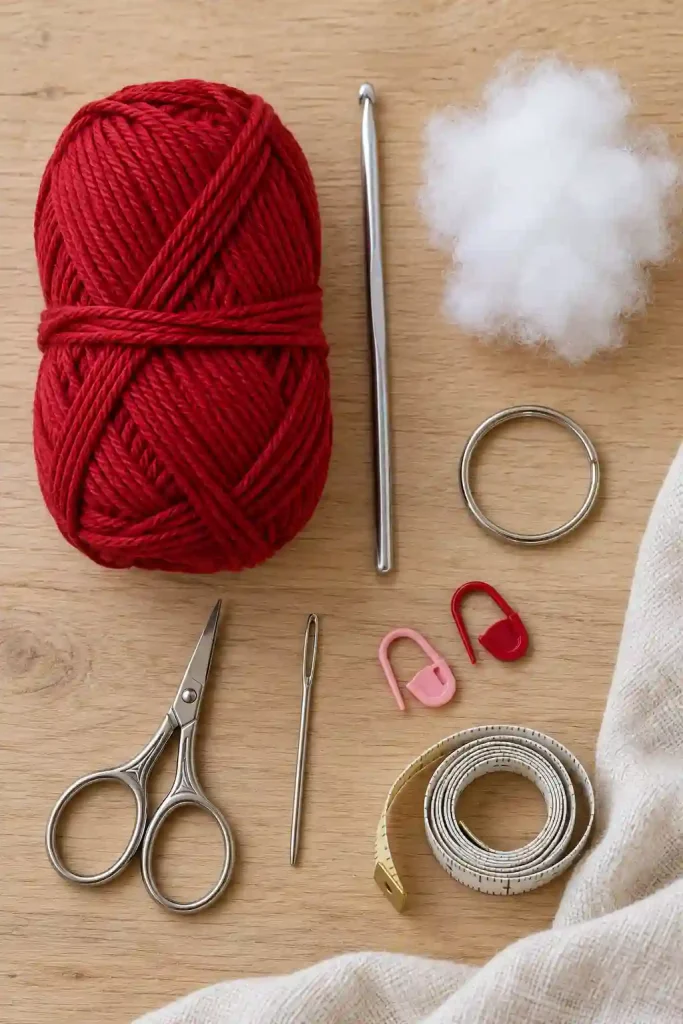
Crochet Heart Keychain Pattern: Materials and yarn quantities
Gather these supplies:
- DK yarn in one color: Approximately 25–35 yards for the heart, attachment tab, and sewing.
- 3 mm crochet hook: Adjust if needed for firm fabric.
- Polyester fiberfill: A small amount for stuffing.
- One split key ring: Approximately 1 inch in diameter.
- Blunt yarn needle: For closing openings and attaching the tab.
- Small scissors.
- Two removable stitch markers.
- Measuring tape.
The yarn allowance for this Crochet Heart Keychain Pattern is a generous, untested estimate. Reserve extra yarn for a practice piece and long sewing tails. Gram quantities are omitted because the length contained in each gram varies among yarns.
Smooth cotton DK provides clear stitch definition and a firm surface. A cotton-acrylic blend is another reasonable choice. Avoid fuzzy or highly textured yarn for your first attempt because it makes small stitches harder to identify.
Choose an undamaged split ring with smooth edges. No glue, beads, wire, or tassel is required. Keep the yarn label so you can check its care instructions later.
Crochet Heart Keychain Pattern: Abbreviations and special stitches
The Crochet Heart Keychain Pattern uses US stitch terminology:
- ch: Chain.
- sc: Single crochet.
- st/sts: Stitch/stitches.
- inc: Work 2 sc into one stitch.
- dec: Invisible single crochet decrease over two stitches.
For an invisible decrease, insert the hook through the front loop of the next stitch and then through the front loop of the following stitch. Yarn over and draw through both front loops. Yarn over again and draw through the two remaining loops.
A magic ring is an adjustable loop used to begin each cup.
Repeat instructions in parentheses the stated number of times. Square brackets show completed stitch totals. The tab’s turning ch-1 does not count as a stitch.
Crochet Heart Keychain Pattern Gauge, Size and Notes
The Crochet Heart Keychain Pattern does not require a fixed gauge because the heart is a small decorative accessory. However, the stitches should sit close enough together to conceal the fiberfill.
The estimated finished heart measures approximately 2 × 2 inches. Measure across the widest part of the lobes and from their highest point to the bottom tip. Exclude the tab and key ring.
Work the heart in continuous rounds without joining or adding chains between rounds. Move the marker into the first stitch of every new round.
Each cup has four rounds. Joining them creates Round 5, and shaping continues through Round 12.
Use both top loops unless making an invisible decrease. If stuffing shows through correctly worked stitches, try a smaller hook. If the fabric becomes difficult to work, relax your tension rather than forcing the hook through.
Crochet Heart Keychain Pattern: Method overview
Begin the Crochet Heart Keychain Pattern with two matching cups. Fasten off the first with a long sewing tail, but keep the second attached to the working yarn.
Crochet around both openings to create one continuous round. Close the small gap between the cups with the reserved tail before adding stuffing.
Next, work a plain round and begin the decreases. Fill the lobes and body gradually, leaving enough softness to preserve the indentation between the upper curves. Finish the decreases and gather the remaining opening closed.
Finally, crochet a rectangular attachment tab. Fold it through the key ring and sew both ends securely against the heart’s upper back.
For another designer’s approach, explore Dreamee Crochet’s free heart keychain pattern. That is a separate pattern; follow one set of instructions throughout rather than combining its rounds with this draft.
Crochet Heart Keychain Pattern: Step-by-Step Tutorial
Make the Two Rounded Upper Cups
Start the Crochet Heart Keychain Pattern with two identical cups in your chosen color.
- Round 1: Make a magic ring. Work 6 sc into the ring. [6]
- Round 2: Inc in every stitch around. [12]
- Round 3: Sc in every stitch around. [12]
- Round 4: Sc in every stitch around. [12]
Pull the starting tail to close the magic ring. Secure that tail through nearby stitches inside the cup without flattening its rounded center.
For Cup A, fasten off after Round 4 and leave a 12-inch tail. Mark the first stitch of Round 4.
For Cup B, complete Round 4 without fastening off. Leave the working loop on your hook.
Position the cups side by side with their openings upward. The outer surfaces should face outward, with the starting tails inside.
Count twelve actual stitches around each opening. Do not include Cup A’s fastening-off knot. Matching counts are essential because the joining round must contain twenty-four stitches.
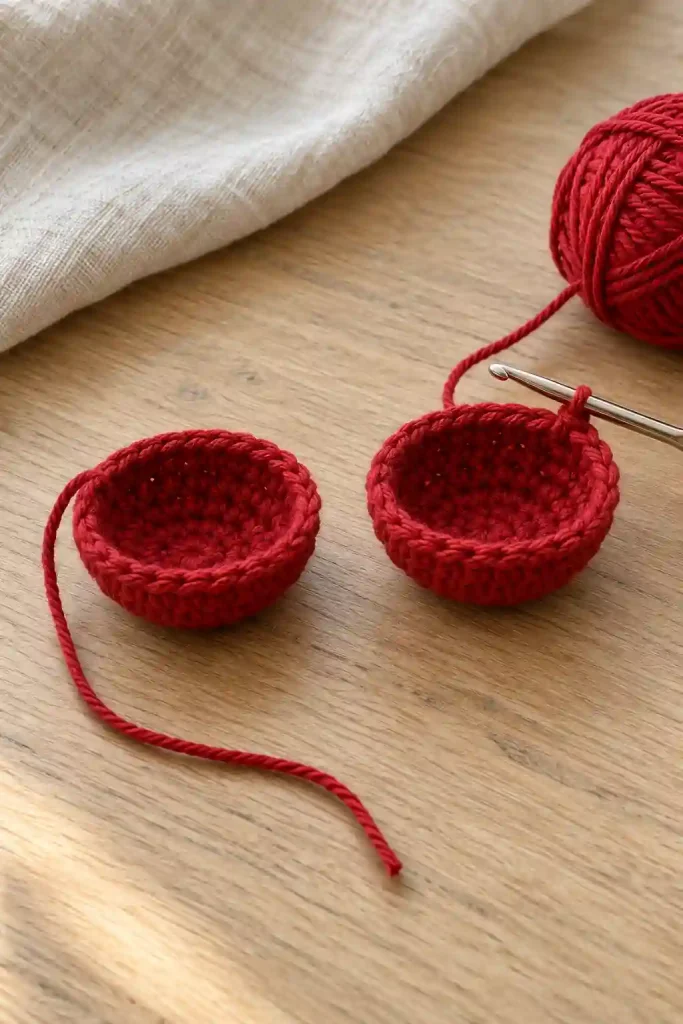
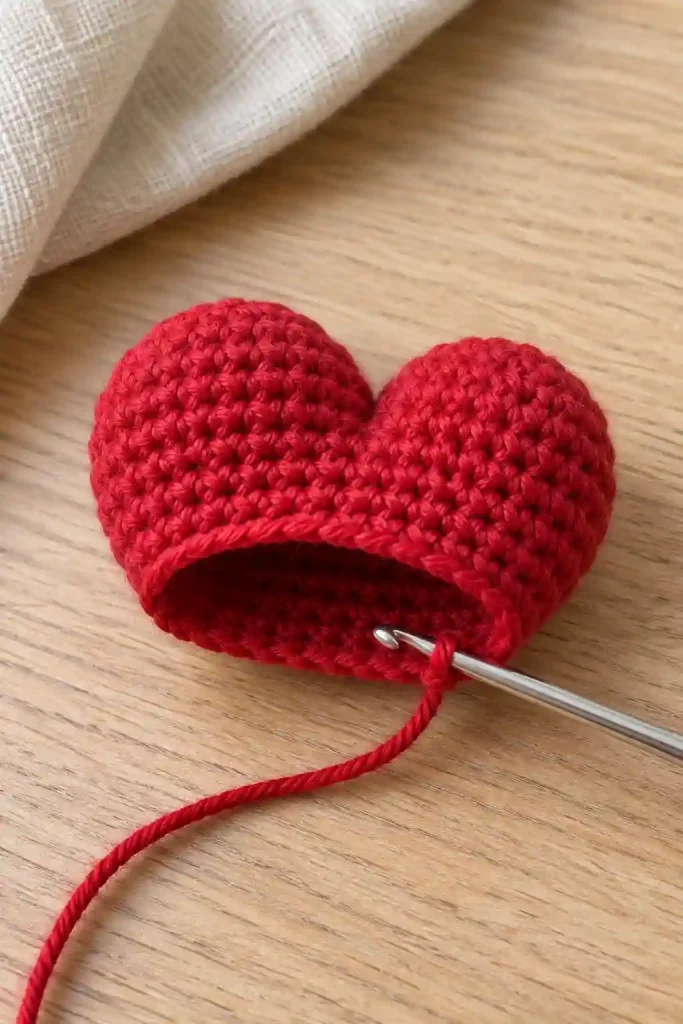
Join the Cups and Begin the Heart Body
The joining stage of the Crochet Heart Keychain Pattern combines both cups without a connecting chain.
- Round 5: Keeping Cup B on your hook, work 1 sc into the marked stitch of Cup A. Mark this new stitch as the beginning of the round.
- Sc into the remaining 11 stitches of Cup A.
- Work 1 sc into the next unworked stitch of Cup B, then sc into its remaining 11 stitches. [24]
- Round 6: Sc in every stitch around. [24]
- Round 7: (Sc in the next 4 sts, dec) four times. [20]
- Round 8: Sc in every stitch around. [20]
Each cup contributes twelve stitches to Round 5. Work directly from one opening to the other, keeping the yarn snug without pulling the cups out of shape.
Thread Cup A’s reserved tail onto the yarn needle. Close the small gap between the lobes with several short stitches through neighboring edges.
Tighten gently, then secure and hide the tail inside. Check the join from both sides before proceeding. It should close the gap while preserving two rounded upper lobes.
Add Stuffing and Shape the Lower Point
Complete the lower section of the Crochet Heart Keychain Pattern with evenly spaced decreases.
- Round 9: (Sc in the next 3 sts, dec) four times. [16]
- Round 10: (Sc in the next 2 sts, dec) four times. [12]
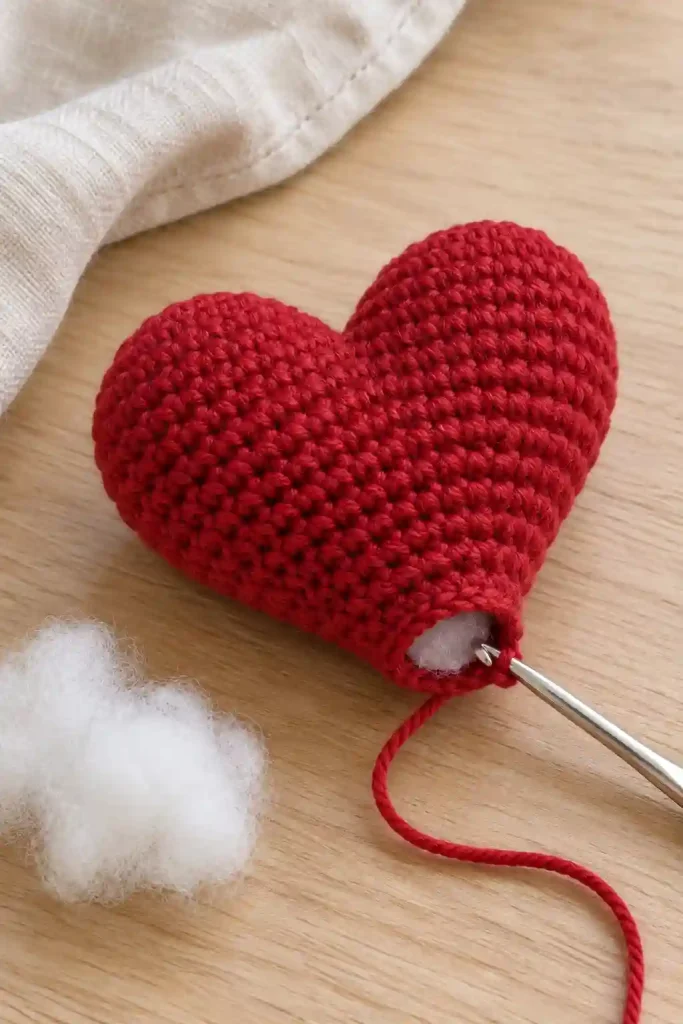
- Pause and place small pieces of fiberfill inside both lobes and the body.
- Round 11: (Sc in the next st, dec) four times. [8]
- Add a little more stuffing if necessary.
- Round 12: Dec four times. [4]
Fasten off, leaving an 8-inch tail. Thread the tail through the front loops of the four remaining stitches. Pull gently to close the opening, secure the yarn, and bury the tail inside.
Use small stuffing pieces rather than one tightly packed clump. The heart should feel softly filled, with no empty lobe or hard lump.
Gently shape the bottom with your fingers. Before making another heart, assess this sample’s proportions and record any changes you decide to explore.
Crochet Heart Keychain Pattern: Assembly
Make the attachment tab with the same yarn:
- Foundation: Ch 9.
- Row 1: Sc in the second ch from the hook and each remaining ch. [8]
- Rows 2–3: Ch 1, turn. Sc in every stitch across. [8]
- Fasten off, leaving an approximately 18-inch sewing tail.
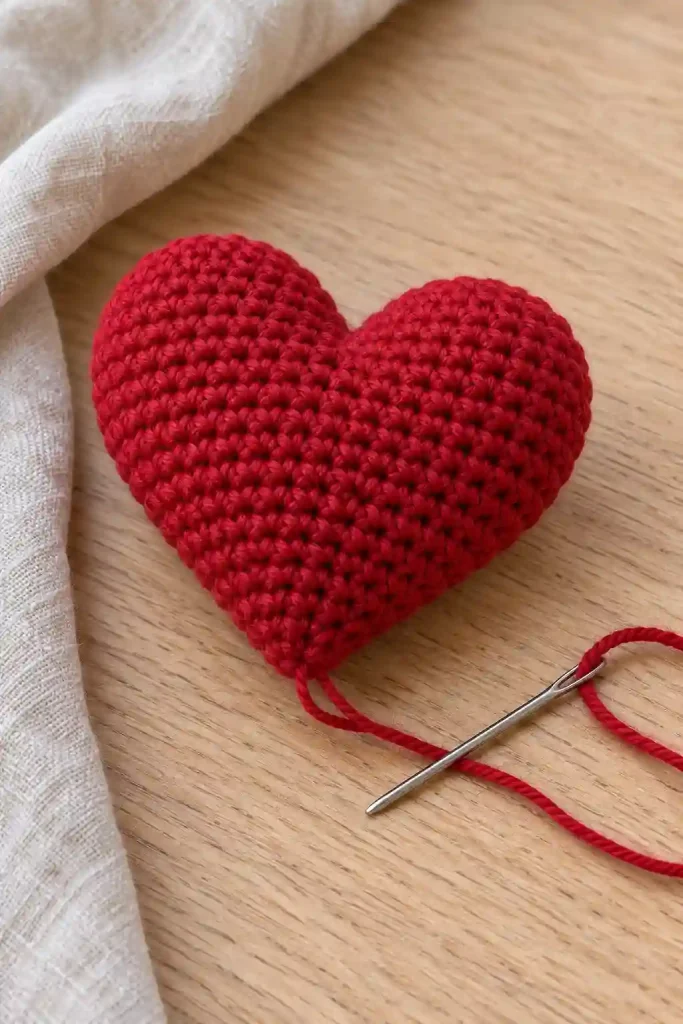
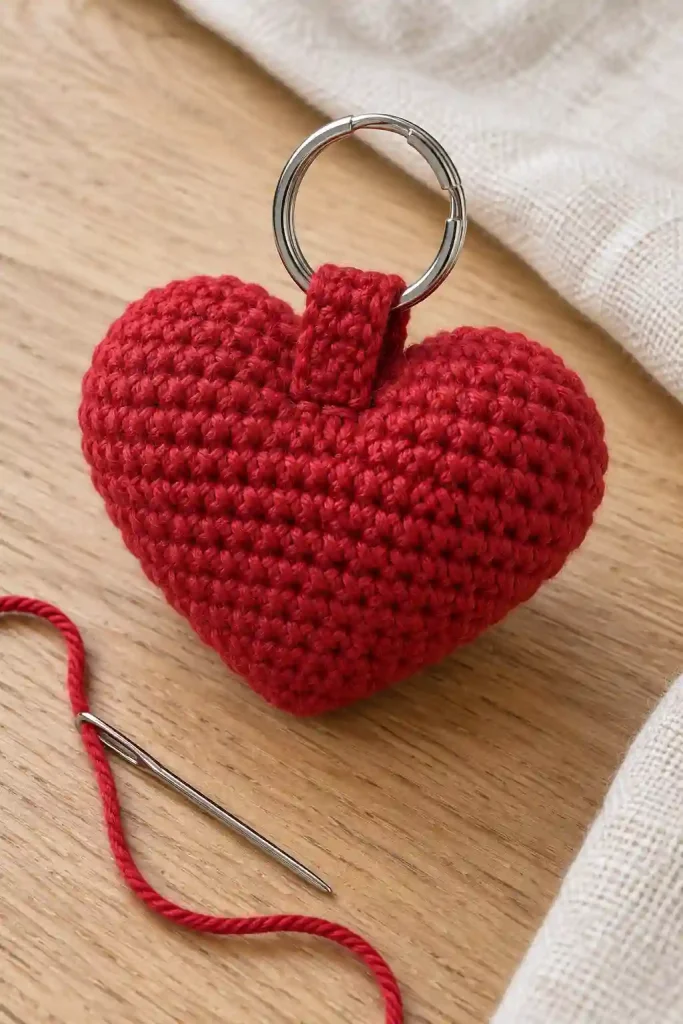
Pass one short end of the rectangle through the split ring. Fold the tab so its two short ends meet, enclosing the ring inside the fold.
Place both ends against the heart’s upper back, just below the central indentation. Keep the ring above the heart.
Sew through both tab layers and several firm heart stitches. Make multiple passes across the attachment area, then secure each lower corner.
Spread the attachment across neighboring stitches rather than relying on the center seam alone. Confirm that the ring moves freely and the heart hangs facing forward. Secure and hide the remaining tail before use.
Crochet Heart Keychain Pattern: Finishing and care
Inspect the heart from the front, back, and sides. Redistribute the stuffing gently so both lobes look balanced and the bottom remains tapered.
Hide any visible tails through several stitches, changing direction before trimming. Avoid cutting close to an exposed fastening point.
Blocking is unnecessary for this stuffed accessory. Shape it by hand instead, and avoid direct heat on the yarn, filling, or hardware.
Follow the care instructions for every component. Spot cleaning is a practical first option. If wet cleaning is permitted, protect unsuitable metal parts and allow the filling to dry completely.
For the final check, hold the heart and pull the ring gently. If the tab shifts or one stitch stretches sharply, reinforce the attachment. Recheck the sewing periodically because a keychain receives repeated handling.
FAQs and Troubleshooting for Crochet Heart Keychain Pattern
1. Why does the joining round have twenty-three or twenty-five stitches?
Round 5 needs twelve stitches from each cup. A skipped stitch produces twenty-three, while an accidental extra stitch produces twenty-five. Undo the joining round and recount both openings. Cup A’s fastening-off point can be confusing, so distinguish its final actual stitch from the knot and loose tail.
2. Why does my heart look like a ball?
Overstuffing can push out the indentation between the lobes. Before closing the bottom, remove a little filling and distribute the remainder separately into each upper cup. Check the center seam too. It should close the gap neatly without pulling the two rounded tops tightly against each other.
3. Can I substitute acrylic or thicker yarn?
Yes, but make a complete sample. Acrylic may produce a softer surface, while thicker yarn changes the finished dimensions. Choose a suitable hook that keeps the stuffing concealed. Also check that the resulting tab fits through your ring and that the finished accessory feels comfortable to carry.
4. How can I make the heart larger or smaller?
Try a different yarn weight with a suitable hook while keeping the stitch counts unchanged. Changing individual rounds can alter the proportions unpredictably. Measure the completed sample, including its thickness, before making more. Adjust the tab length only after checking how it folds around the chosen ring.
5. Can I machine wash the finished keychain?
Only consider machine washing if the yarn, filling, and hardware instructions all permit it. Metal parts can snag fabric or deteriorate when wet. Spot cleaning is often easier. After any permitted cleaning, reshape the heart gently and let its center dry completely before carrying it or storing it.
Final Thoughts
The Crochet Heart Keychain Pattern brings together small amigurumi skills and practical sewing in one compact project. Count the cup openings carefully, keep the filling balanced, and give the attachment tab the same attention as the heart itself. Since this draft has not been tested, evaluate your first sample before planning a larger batch. For another small handmade project, explore the crochet Christmas bell pattern. Whether you choose a bright red heart or a softer shade, record your yarn and hook combination so you can reproduce the size and finish you prefer.