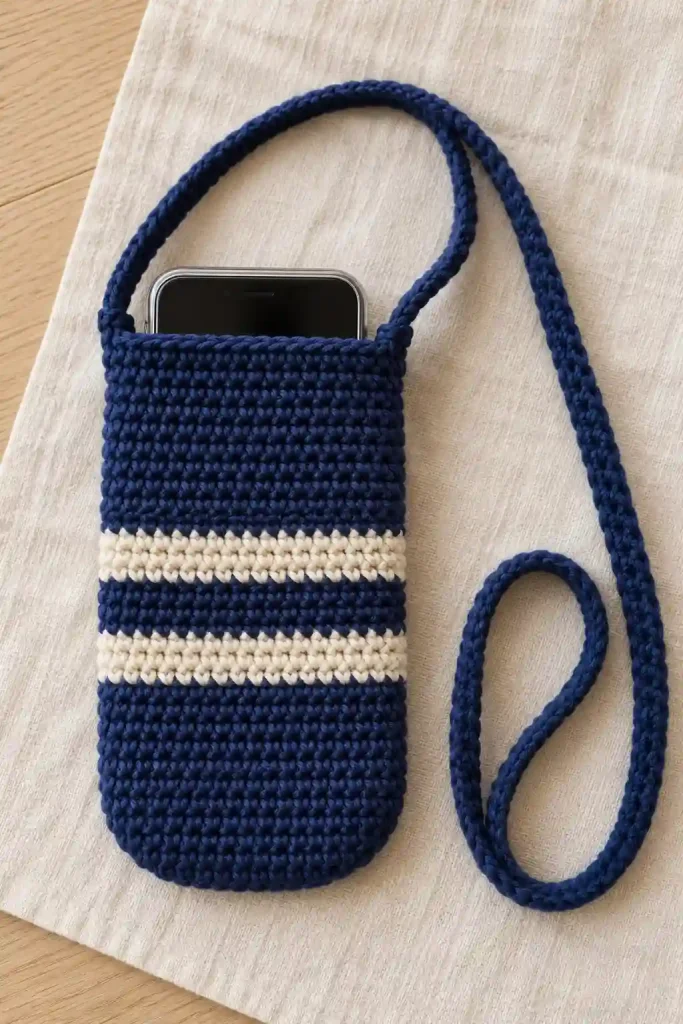
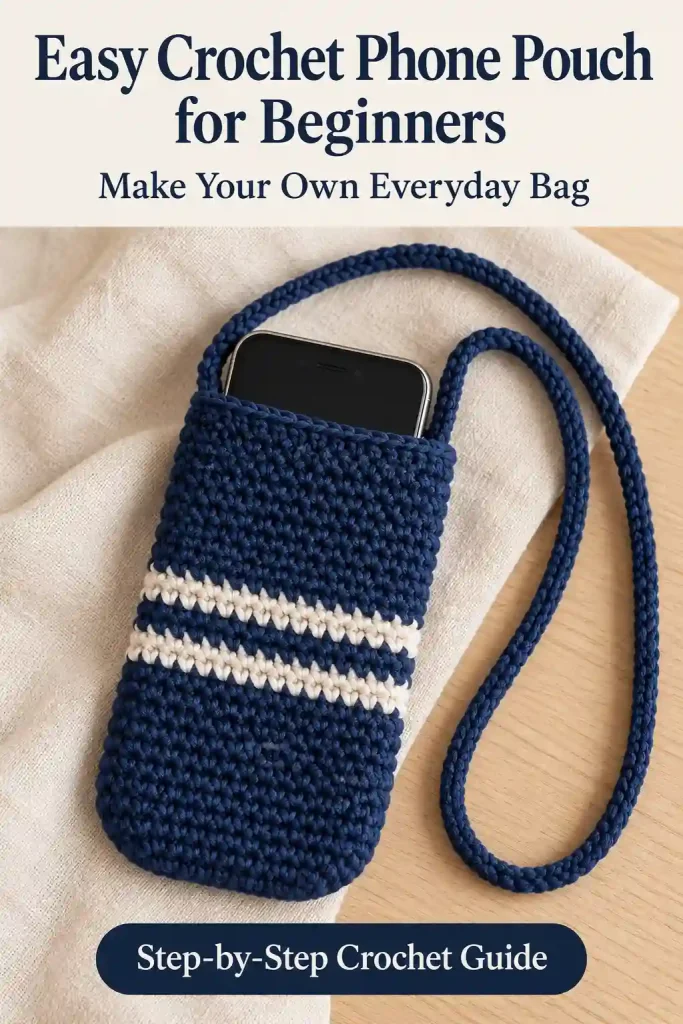
Easy Crochet Phone Pouch for Beginners projects turn a few basic stitches into a useful everyday accessory. This version features a closed oval base, a navy body with two ivory stripes, and a narrow crocheted crossbody strap. You will learn how to work around a chain, maintain an even stitch count, and reinforce the strap attachments. These independently drafted instructions are untested, so finished dimensions and yarn quantities are approximate estimates.
Easy Crochet Phone Pouch for Beginners at a Glance
This project suits beginners who can chain and work single crochet. The base requires careful placement at both chain ends, but the remaining body uses one single crochet in every stitch.
The Easy Crochet Phone Pouch for Beginners has a thirty-six-stitch circumference and forty-two body rounds, followed by a slip-stitch rim. A separate three-stitch-wide strap attaches inside the upper side folds.
Use worsted-weight cotton and a 4 mm hook. The planned pouch measures approximately 4 inches wide when laid flat and 7 inches tall. The strap begins at about 44 inches before sewing its ends in place.
These measurements are untested estimates. Gauge and a real fit check matter because phones and cases vary. Make a sample before planning gifts. Allow several sessions, particularly for the long strap and finishing; a dependable completion time has not been established.
Easy Crochet Phone Pouch for Beginners: Materials and yarn quantities
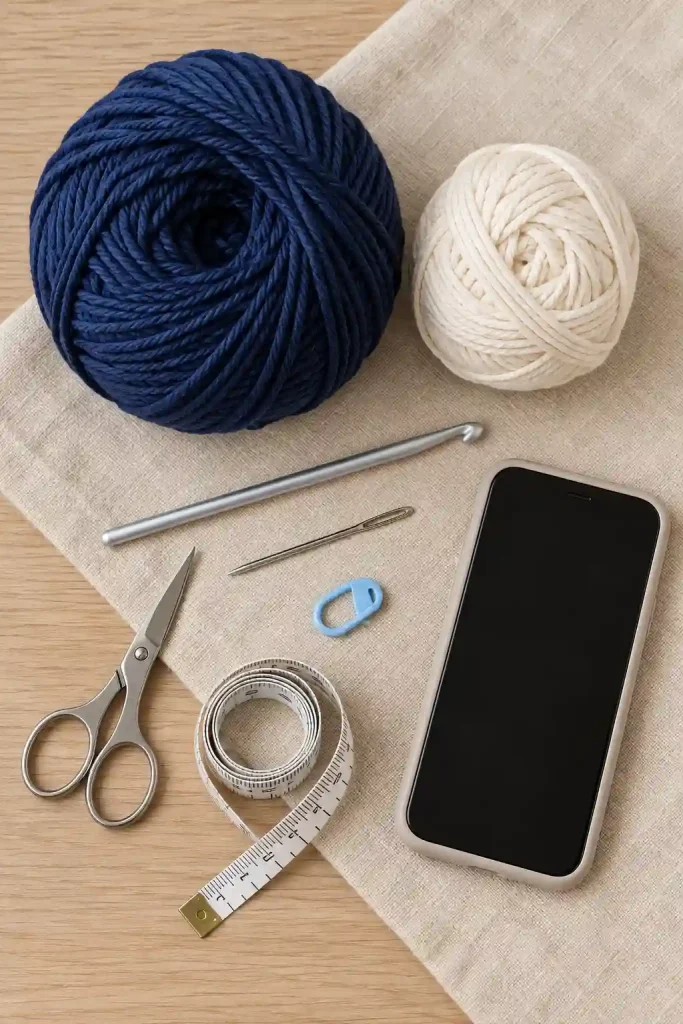
Gather the following supplies:
- Navy worsted-weight cotton, color A: Approximately 220–280 yards, including the strap and sewing tails.
- Ivory worsted-weight cotton, color B: Approximately 20–35 yards for the two stripes.
- 4 mm crochet hook.
- Blunt yarn needle: For weaving ends and attaching the strap.
- Small scissors.
- Removable stitch marker: To mark the beginning of every round.
- Measuring tape.
- Your phone with its usual case: For checking the actual fit.
These generous allowances for the Easy Crochet Phone Pouch for Beginners have not been measured from a completed sample. Strap length and tension can change consumption considerably. Gram quantities are omitted because yardage per gram varies among yarns.
Smooth cotton offers clear stitch definition and a reasonably firm fabric. A cotton blend may also work, but test its stretch under your phone’s weight. Use similar yarn thicknesses for both colors.
This version needs no lining, button, zipper, clasp, or metal strap hardware. Its top remains open.
Easy Crochet Phone Pouch for Beginners: Abbreviations and special stitches
The Easy Crochet Phone Pouch for Beginners uses US terminology:
- ch: Chain.
- sc: Single crochet.
- sl st: Slip stitch.
- st/sts: Stitch/stitches.
- A: Navy yarn.
- B: Ivory yarn.
To change color, begin the final single crochet of the current round with the old color. Complete its last pull-through with the new color, ready for the following round.
Square brackets show completed stitch counts. A turning ch-1 does not count as a stitch.
Work through both top loops unless instructed otherwise. The body uses continuous rounds, so do not join or chain between them. The separate strap uses turned rows. The final rim consists of slip stitches, worked loosely enough to avoid tightening the opening.
Easy Crochet Phone Pouch for Beginners Gauge, Size and Notes
For the Easy Crochet Phone Pouch for Beginners, use a provisional design gauge of 18 sc and 24 rows per 4 inches. This is a planning target, not a measured result from a tested sample.
Make a flat swatch larger than 4 inches, then measure its central area without stretching. If you have too many stitches, try a larger hook; if too few, try a smaller hook.
At that gauge, thirty-six stitches give an approximately 8-inch circumference, or 4 inches laid flat. Finished height is planned at approximately 7 inches.
Measure the phone with its case. Check that the pouch circumference accommodates its width and thickness with a little ease. After several body rounds, test the actual opening rather than relying on the estimate alone.
The finished pouch is an open carrying accessory, not a waterproof or impact-protective case.
Easy Crochet Phone Pouch for Beginners: Method overview
Begin the Easy Crochet Phone Pouch for Beginners by crocheting around both sides of a foundation chain. Extra stitches at the ends create a narrow oval and close the bottom without a seam.
Continue upward in single crochet without further increases. Move the marker each round so the stripe schedule remains easy to follow.
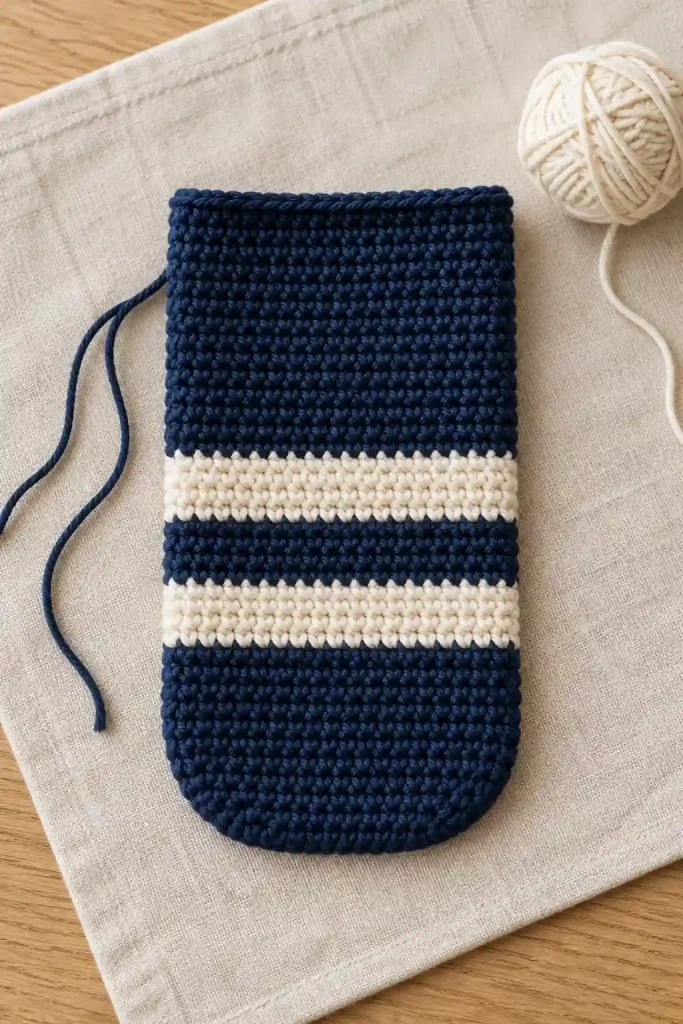
Work the lower section in navy, add two ivory stripes separated by navy, and finish with a longer navy upper section. A loose slip-stitch round tidies the opening.
Next, crochet the strap separately across three stitches. Measure its length against your body and consider how it behaves under the phone’s weight before fastening off.
Finally, sew each strap end inside an opposite side fold. Spread the attachment stitches across several rows. Test the finished pouch while supporting it with your hand before relying on the strap alone.
Easy Crochet Phone Pouch for Beginners: Step-by-Step Tutorial
Work the Closed Oval Base
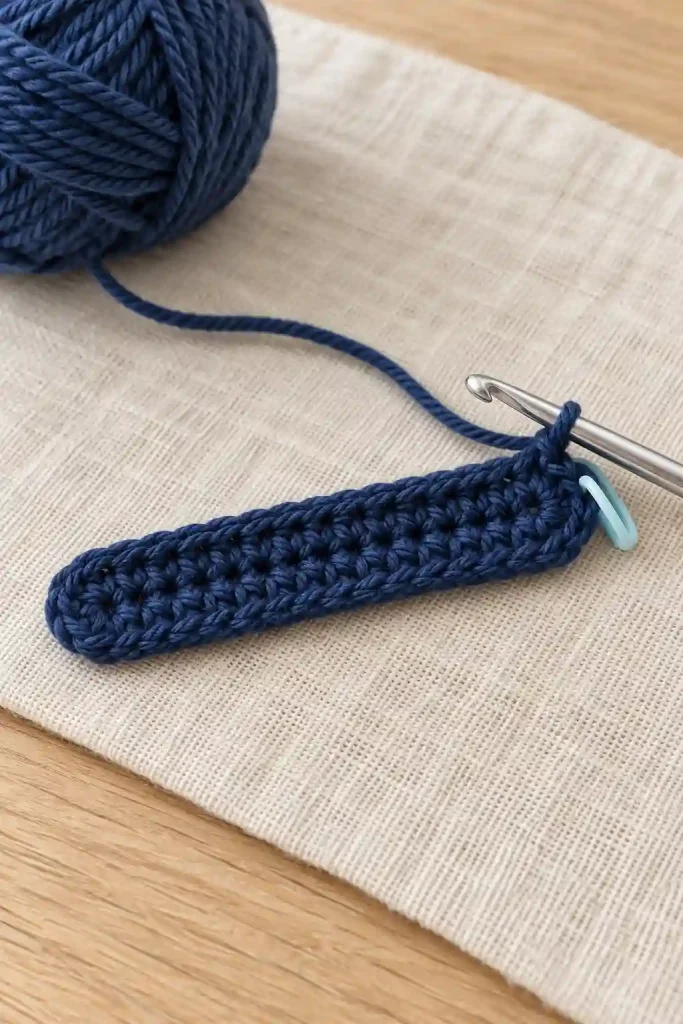
Start the Easy Crochet Phone Pouch for Beginners with color A. Leave an 8-inch starting tail and ch 18.
Round 1:
- Sc in the second ch from the hook.
- Sc in each of the next 15 chains.
- Work 3 sc into the final chain.
- Rotate the work to reach the unused loops on the opposite side of the foundation.
- Sc into each of the next 15 unused chain positions.
- Work 2 sc into the same foundation chain that received your very first sc. [36]
Place the marker in the first sc. Do not join.
The total is 1 + 15 + 3 + 15 + 2 = 36 stitches. Each end contains three stitches in total, including the first stitch at the starting end.
Keep the foundation tail accessible for weaving in later. If the oval twists, straighten it gently before proceeding. A slight curve is acceptable, but a missing chain position or extra end stitch should be corrected now.
Build the Body and Add Two Ivory Stripes
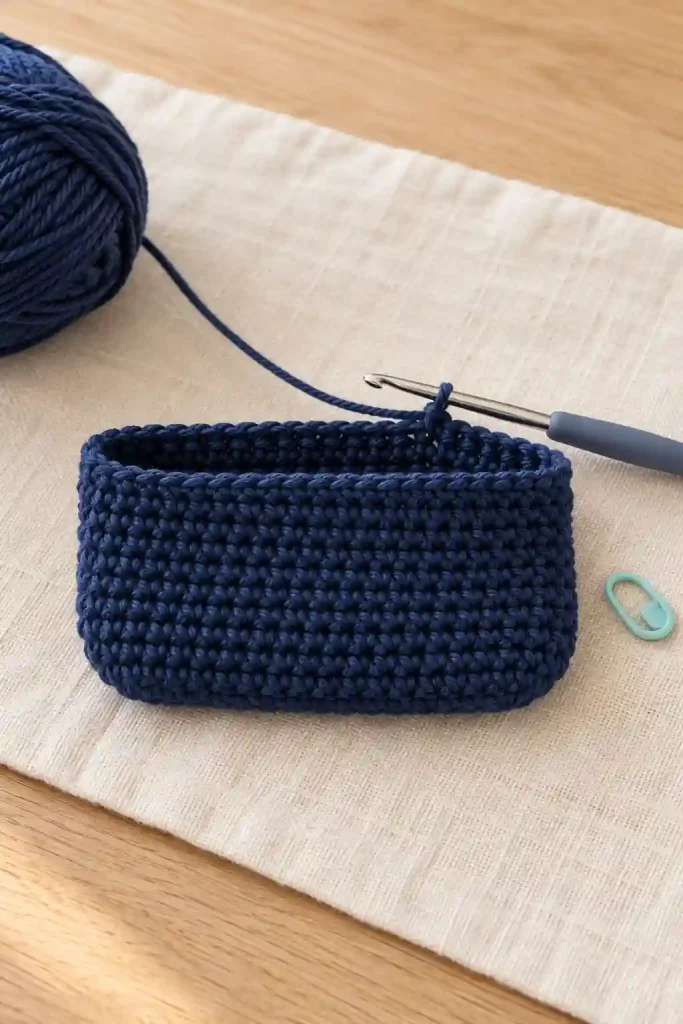
The body of the Easy Crochet Phone Pouch for Beginners stays at thirty-six stitches throughout.
Work 1 sc in every stitch of each round, following this schedule:
| Rounds | Color | Number of rounds | Stitch count |
|---|---|---|---|
| 2–14 | A, navy | 13 | 36 each |
| 15–18 | B, ivory | 4 | 36 each |
| 19–22 | A, navy | 4 | 36 each |
| 23–26 | B, ivory | 4 | 36 each |
| 27–42 | A, navy | 16 | 36 each |
Change color during the final pull-through of the round before each new block. Cut the old yarn with an 8-inch tail rather than leaving long loose strands inside the pouch.
Move the marker into the first stitch of every round. Check the count before changing colors.
After Round 8, test the opening with the phone in its case. It should slide inside without forcing the fabric apart. Recheck the height near the end.
Continuous-round stripes may show a small step at the transition. Position that area toward the back during finishing.
Finish the Rim and Crochet the Strap
Finish the opening of the Easy Crochet Phone Pouch for Beginners before making the separate strap.
Round 43: With A, sl st loosely into each of the 36 stitches. Fasten off. Do not add an extra joining stitch to the count.
For the strap, use A:
- Leave a 16-inch starting tail and ch 4.
- Row 1: Sc in the second ch from the hook and each remaining chain. [3]
- Rows 2–264: Ch 1, turn. Sc in each stitch across. [3 per row]
- Measure before fastening off with a 16-inch tail.
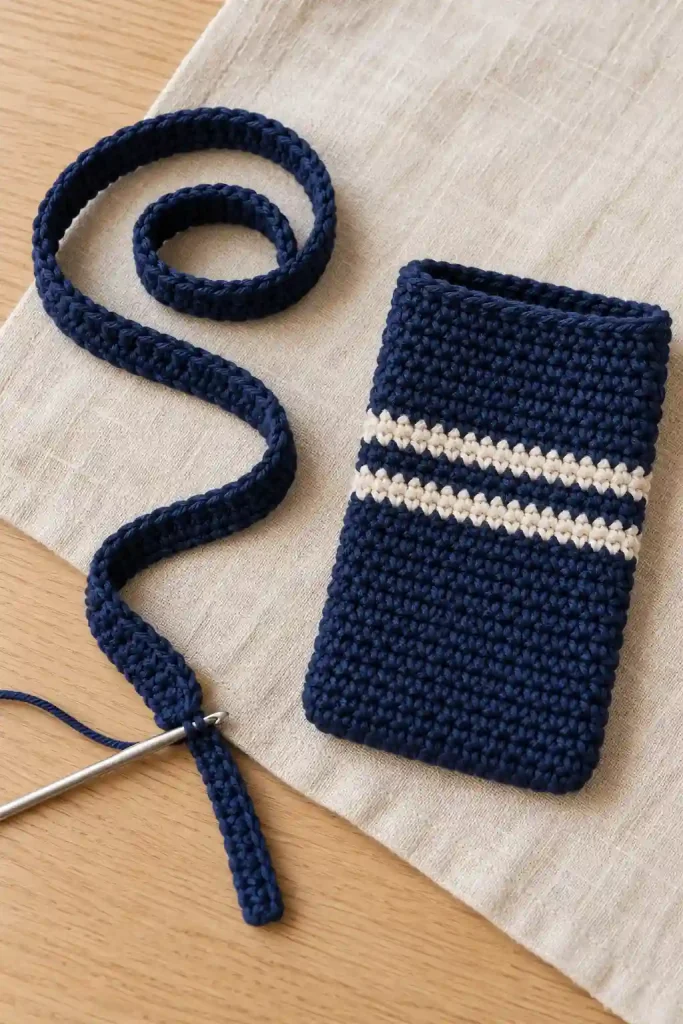
At the provisional gauge, 264 rows produce approximately 44 inches. Treat that as a starting estimate. Add or remove complete three-stitch rows to suit your preferred carrying position.
About 1 inch of each end will overlap inside the pouch, leaving roughly 42 inches of usable strap. Keep the turning chains outside the stitch count. Lay the strap flat and remove any twists before sewing.
Easy Crochet Phone Pouch for Beginners: Assembly
Flatten the pouch so the color-change area faces the back. Mark its two side folds at the opening.
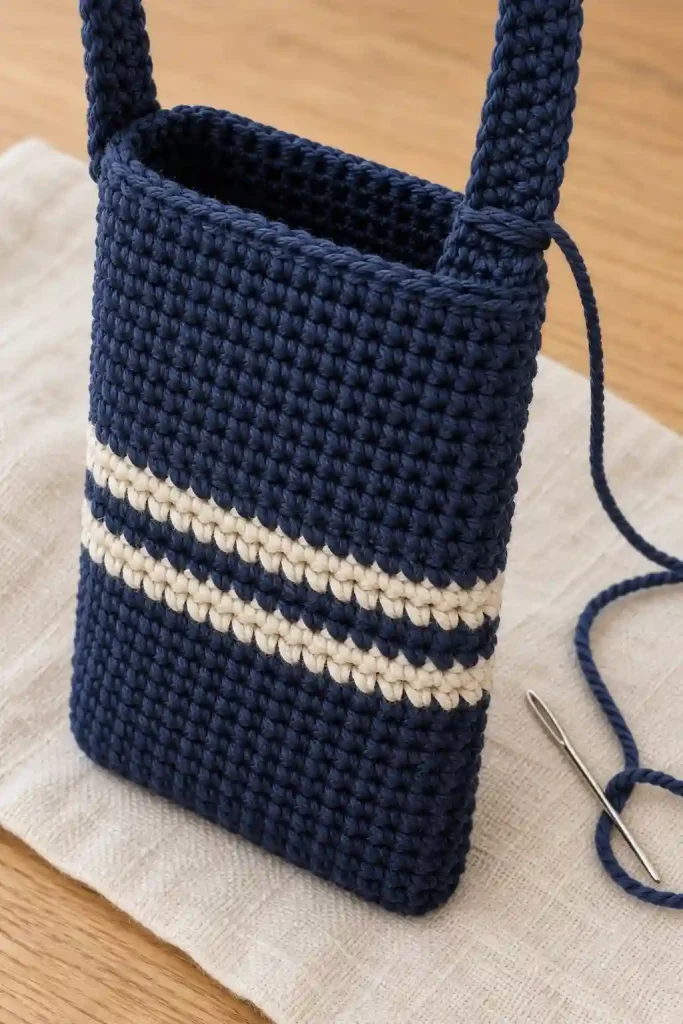
Place one strap end inside a side fold, overlapping the pouch by approximately 1 inch. Position the other end inside the opposite fold. Check that the strap lies flat along its entire length.
Use the long navy tails to sew each overlap securely. Work through the strap and pouch fabric across several rows, forming a small rectangle of stitches with additional diagonal passes.
Do not rely on the slip-stitch rim alone. Spread the attachment below it, catching firm fabric without drawing the opening inward.
Insert the phone and support the pouch while gently loading the strap. Check both joins and assess how far the strap lengthens.
If necessary, unpick the attachment and shorten the strap by complete rows. Reattach securely, then hide the sewing tails through several stitches, changing direction before trimming.
Easy Crochet Phone Pouch for Beginners: Finishing and care
Weave all remaining ends into the inside of the pouch. Keep them flat so the phone cannot catch on loose loops or bulky knots.
Inspect the foundation for gaps and check that the top opening still admits the phone comfortably. Smooth the pouch by hand rather than stretching it to reach a planned measurement.
Follow the yarn label for cleaning. Remove the phone first. If washing is permitted, reshape the pouch and strap gently and dry them as directed, preferably supported rather than hanging under their own wet weight.
Let everything dry completely before use. Check contrasting colors for bleeding before the first wash.
Inspect the strap attachments periodically. If stitches loosen or the strap stretches enough to change the carrying position, repair or adjust it before carrying the phone again.
FAQs and Troubleshooting for Easy Crochet Phone Pouch for Beginners
1. Why does my base have thirty-five or thirty-seven stitches?
Check the two rounded ends first. The final foundation chain receives three sc. The starting chain position contains your first sc plus two more when you return. Between those ends, work fifteen stitches along each side. Count the thirty-six stitches before beginning the walls so the error does not continue upward.
2. Why is my pouch too narrow or unusually floppy?
Measure the gauge and check that every round contains thirty-six stitches. Tight tension can reduce the opening, while loose fabric may stretch excessively. Test the phone with its case after several rounds. Adjust the hook or foundation length on a new sample rather than forcing the phone into an unsuitable opening.
3. Can I use acrylic or a different yarn weight?
Yes, as a substitution requiring a sample. Fiber, thickness, and construction affect stretch, especially in the strap. Recheck the gauge and load behavior. A thinner yarn changes the size unless you adjust the stitch count; a thicker yarn can produce a larger, bulkier pouch even with the same instructions.
4. How do I change the width or height?
For a foundation of N chains, this base method produces 2N stitches: one first sc, N minus three along each side, three at the far end, and two at the starting end. Keep the new circumference throughout. For height, add or remove plain navy rounds after the second ivory stripe.
5. Can I wash the pouch with its strap attached?
Yes, if the yarn label permits the chosen cleaning method. The sewn strap is part of the finished item. Support both pieces during washing and drying, and avoid stretching them while wet. Once dry, inspect the attachment stitches and confirm that the phone still fits before using the pouch.
Final Thoughts
The Easy Crochet Phone Pouch for Beginners combines simple stitches with practical measuring and sewing skills. Check the base count, test the fit, and reinforce the strap attachments. This pattern remains untested, so dimensions and yarn quantities are approximate. For another phone accessory, explore our iPhone 18 Pro Max Crochet Case Pattern. You can also practice decorative motifs with our Crochet Heart Granny Square Pattern. For additional inspiration, visit the Crochet Phone Pouch Pattern from Spotted Horse Design.