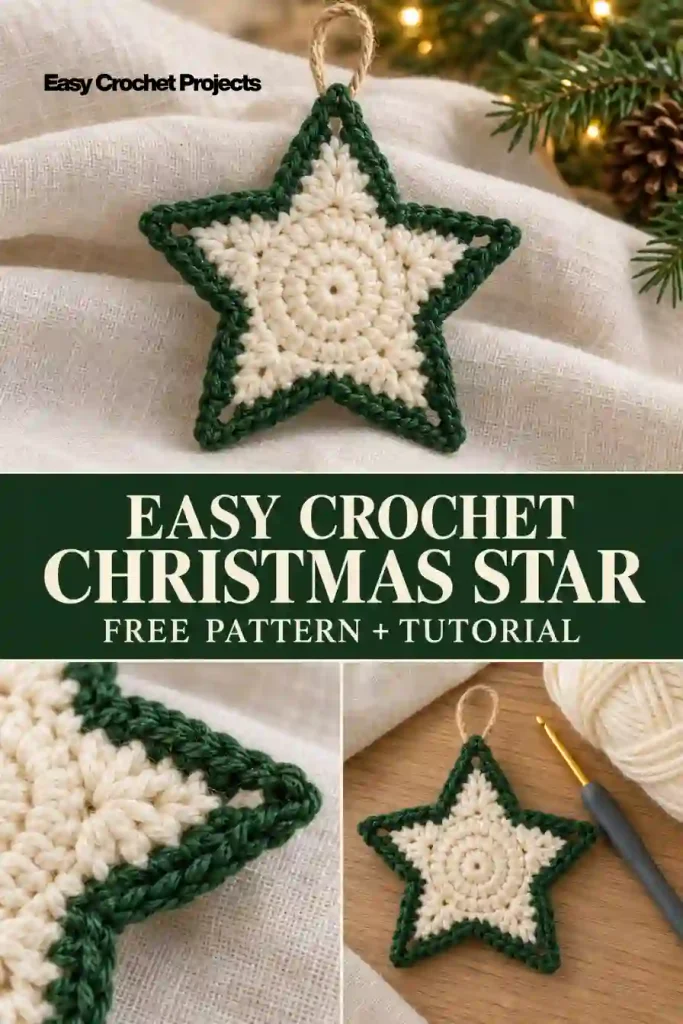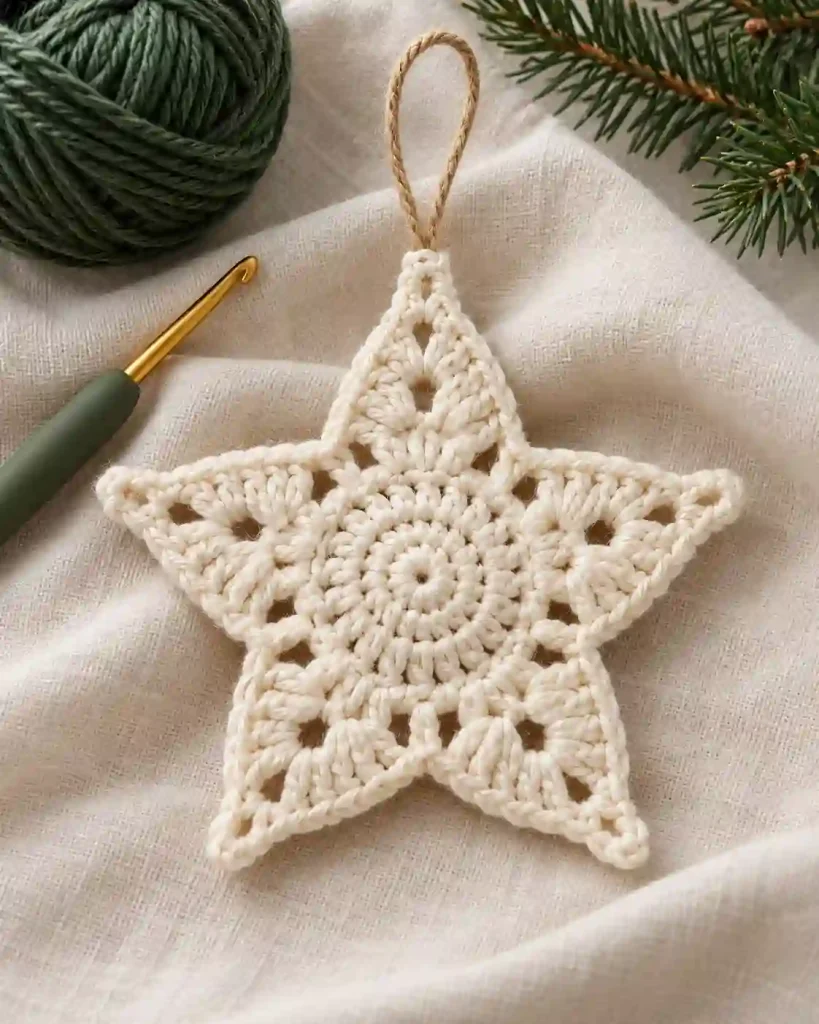
This Crochet Christmas Star Ornament Pattern is a cozy way to turn a small amount of yarn into a beautiful handmade holiday decoration. With five pointed tips, a textured center, and a delicate outer edge, this little star looks lovely on Christmas trees, gift packages, and festive garlands. Follow this free tutorial to learn how to crochet the circular foundation, shape the star points, finish the border, and add a hanging loop.
Crochet Christmas Star Ornament Pattern at a Glance
This handmade Christmas star is a flat, five-pointed motif worked from the center outward. It begins with a small circular foundation, followed by five individually shaped points and a simple finishing border.
The Crochet Christmas Star Ornament Pattern is suitable for confident beginners who understand basic crochet stitches and can work into chain spaces.
Pattern details:
- Skill level: Confident beginner
- Terminology: US crochet terms
- Yarn weight: Worsted weight, category 4
- Hook size: 4.0 mm
- Construction: One-piece motif worked in three stages
- Estimated time: Approximately 20–40 minutes
- Finished width: Approximately 3.5–4.5 inches (9–11.5 cm)
- Gauge: Not critical
- Finishing: Weaving ends, optional blocking, and attaching a hanging loop
The dimensions, yarn quantities, and completion time are approximate because this original pattern has not been physically tested.
Since the ornament is flat and lightweight, it requires no stuffing. You can make several stars in coordinating colors for a Christmas tree or a handmade holiday garland.
Crochet Christmas Star Ornament Pattern: Materials and Yarn Quantities
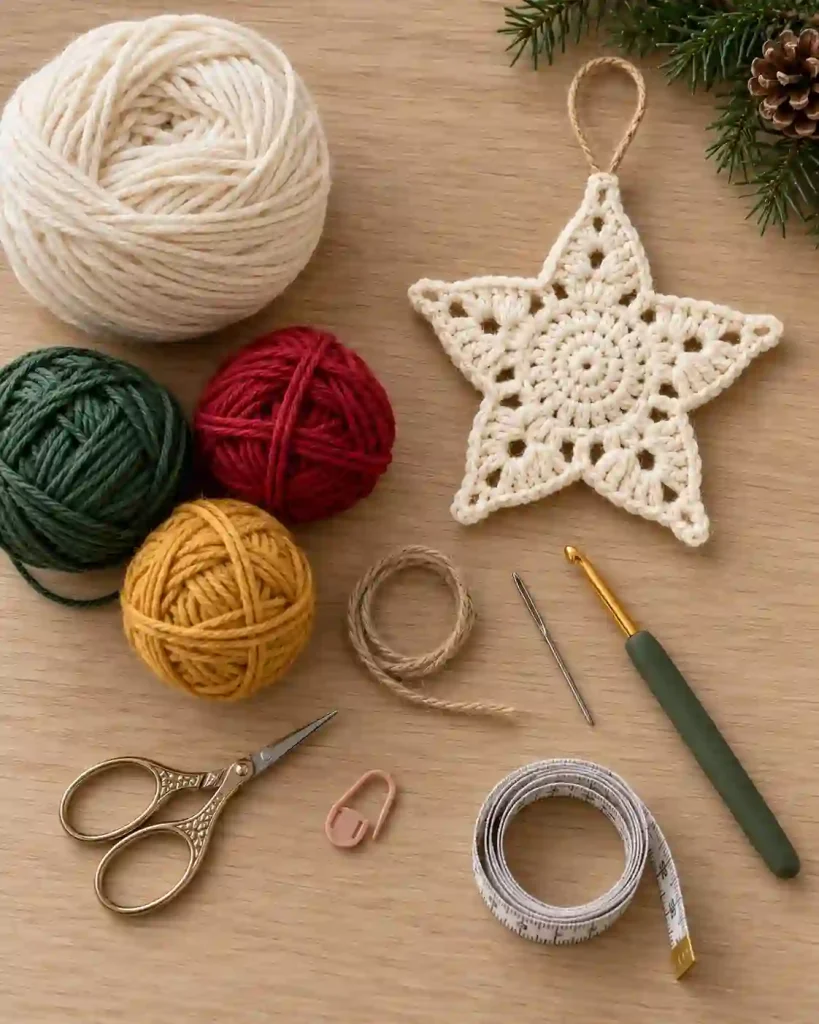
You only need a few basic supplies to make this festive decoration.
Materials:
- Worsted weight yarn (category 4): Approximately 12–20 yards (11–18 meters) total for one star
- Optional contrasting yarn: Approximately 3–5 yards (3–4.5 meters) for the border, included within the total estimate
- Crochet hook: 4.0 mm
- Blunt tapestry needle
- Small scissors
- Stitch marker, optional
- Measuring tape
- Ribbon, twine, or matching yarn for hanging, approximately 8–10 inches (20–25 cm)
- Blocking pins and a suitable blocking surface, optional
These yarn quantities are estimates, not measurements from a tested sample.
For this Crochet Christmas Star Ornament Pattern, smooth cotton yarn is a practical option because it provides clear stitch definition and helps the ornament maintain its shape.
Acrylic yarn also works, although it may produce a softer star.
You can crochet the entire ornament in one color or add a contrasting border for extra definition.
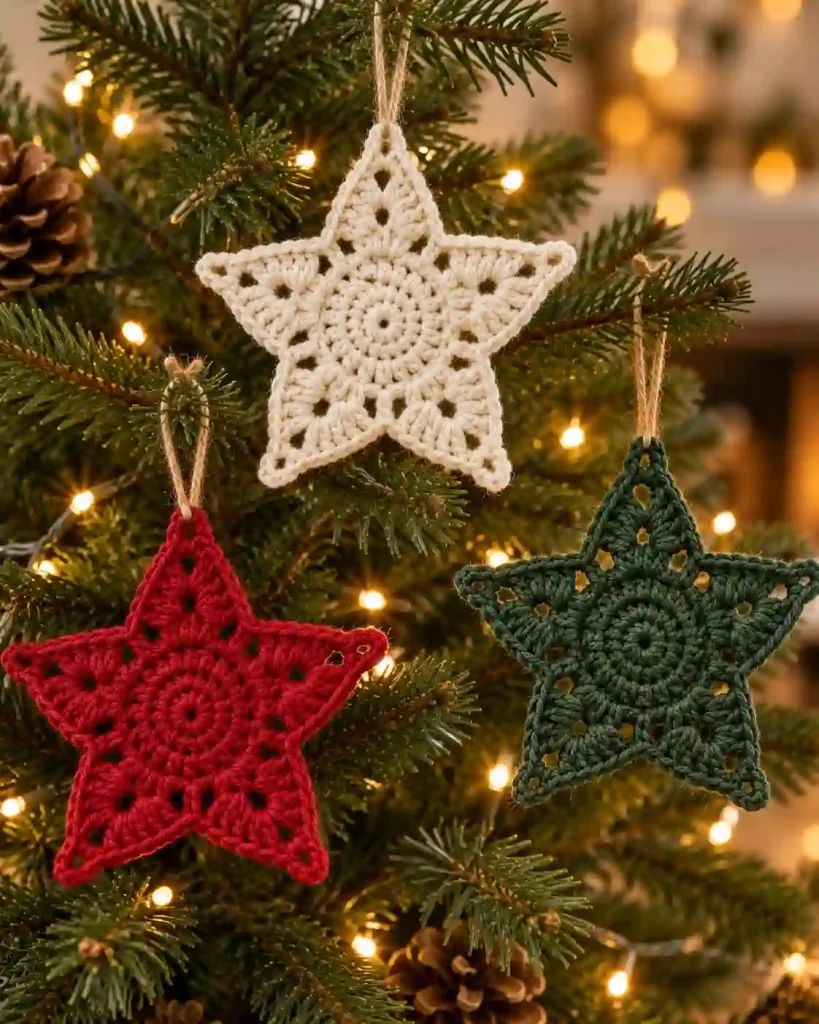
Traditional Christmas colors such as crimson, forest green, and cream work beautifully. Gold, silver-gray, and warm ivory create a more understated appearance.
If you use thinner or thicker yarn, choose a hook that suits the yarn rather than automatically using the recommended size.
Crochet Christmas Star Ornament Pattern: Abbreviations and Special Stitches
This pattern uses US crochet terminology.
| Abbreviation | Meaning |
|---|---|
| MR | Magic ring |
| ch | Chain |
| sc | Single crochet |
| dc | Double crochet |
| sl st | Slip stitch |
| st | Stitch |
| sts | Stitches |
Magic ring: An adjustable loop used to create a circular crochet center.
Chain space: The opening formed beneath chain stitches. Work into the opening rather than into an individual chain unless instructed otherwise.
Repeat notation: Instructions followed by ×5 are repeated five times.
Joined round: A circular row completed by joining the final stitch to the beginning with a slip stitch.
Turning chains: Beginning chains do not count as stitches unless specifically stated.
Crochet Christmas Star Ornament Pattern Gauge, Size and Notes
The finished ornament is expected to measure approximately 3.5–4.5 inches (9–11.5 cm) across its widest points when made with worsted weight yarn and a 4.0 mm hook.
Gauge is not critical because the star is decorative rather than fitted.
There is no required stitches-per-inch or rows-per-inch gauge for this project. Instead, focus on maintaining even tension throughout the motif.
The Crochet Christmas Star Ornament Pattern begins with one joined circular round. The five points are then worked individually from the foundation, and the outer edges are finished with a final border.
Each point uses two stitches from the foundation round.
Count the ten foundation stitches carefully before starting the points.
Slip stitches and chains are counted separately from single crochet and double crochet stitches.
To measure the finished star, lay it flat and measure across the widest pair of points.
If your ornament is larger or smaller than expected, try a different yarn weight or hook size.
Crochet Christmas Star Ornament Pattern: Method Overview
This ornament uses a simple center-out construction.
First, crochet ten single crochet stitches into a magic ring. This creates the circular foundation and establishes five pairs of stitches.
Next, work five star points. Each point is made using chains and double crochet stitches, with slip stitches anchoring the shape to the foundation.
After completing the points, add a decorative border around the outer edges to create a neater silhouette.
The Crochet Christmas Star Ornament Pattern is worked as one connected piece, so no separate crochet components need to be sewn together.
Once the crochet work is finished, weave in the yarn tails and gently shape the five tips.
You can also block the star if your chosen yarn responds well to blocking.
Finally, add a ribbon or yarn loop through one point.
For additional holiday crochet inspiration, explore the Crochet Star Ornament Pattern by One Dog Woof. The instructions below describe a separate original construction.
Step-by-Step Crochet Christmas Star Ornament Tutorial
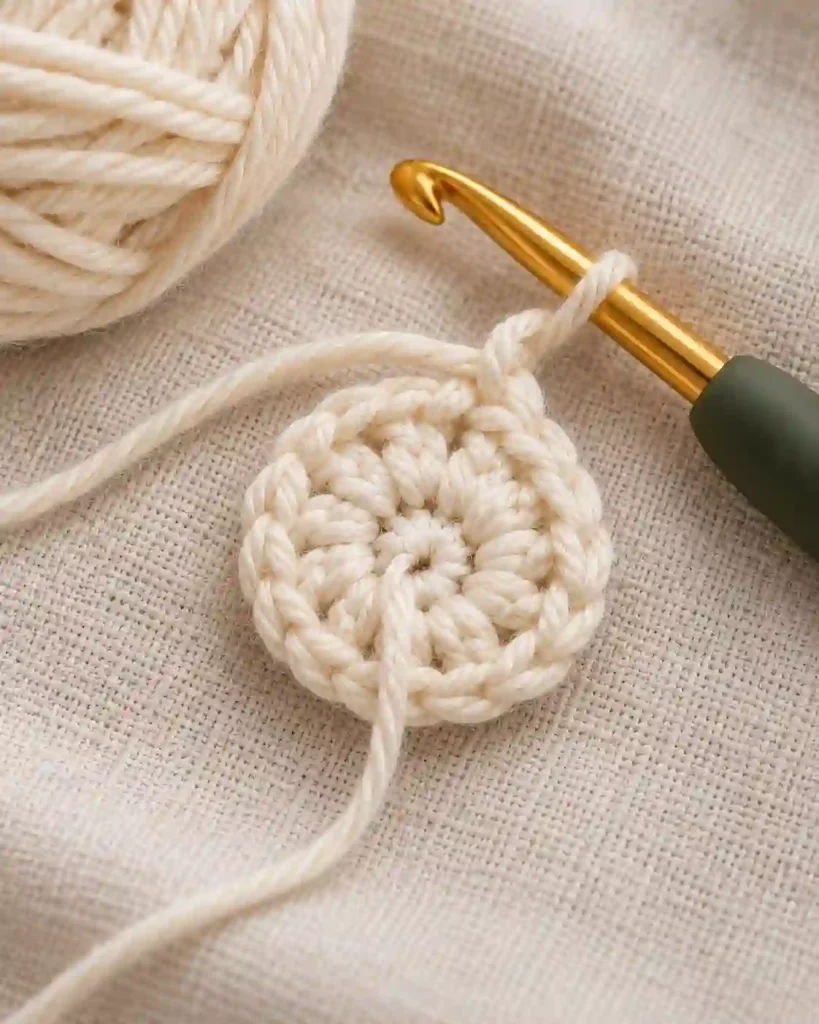
Step 1: Crochet the Circular Star Center
Start with your chosen worsted weight yarn and a 4.0 mm crochet hook.
Foundation Round
- Make a magic ring.
- Work 10 sc into the ring.
- Pull the starting yarn tail to close the center.
- Join with a sl st into the first sc.
Stitch count: 10 sc.
The ten single crochet stitches create five pairs. Each pair will support one star point.
If you prefer not to use a magic ring, ch 4 and join with a slip stitch into the first chain to form a small ring. Work 10 sc into the ring and join as directed.
Keep the stitches firm but not overly tight.
Before continuing, count all ten stitches.
An extra or missing foundation stitch can affect the spacing of the five points.
The finished center should form a small, relatively flat circle.
Do not fasten off. The next stage begins directly from this foundation.
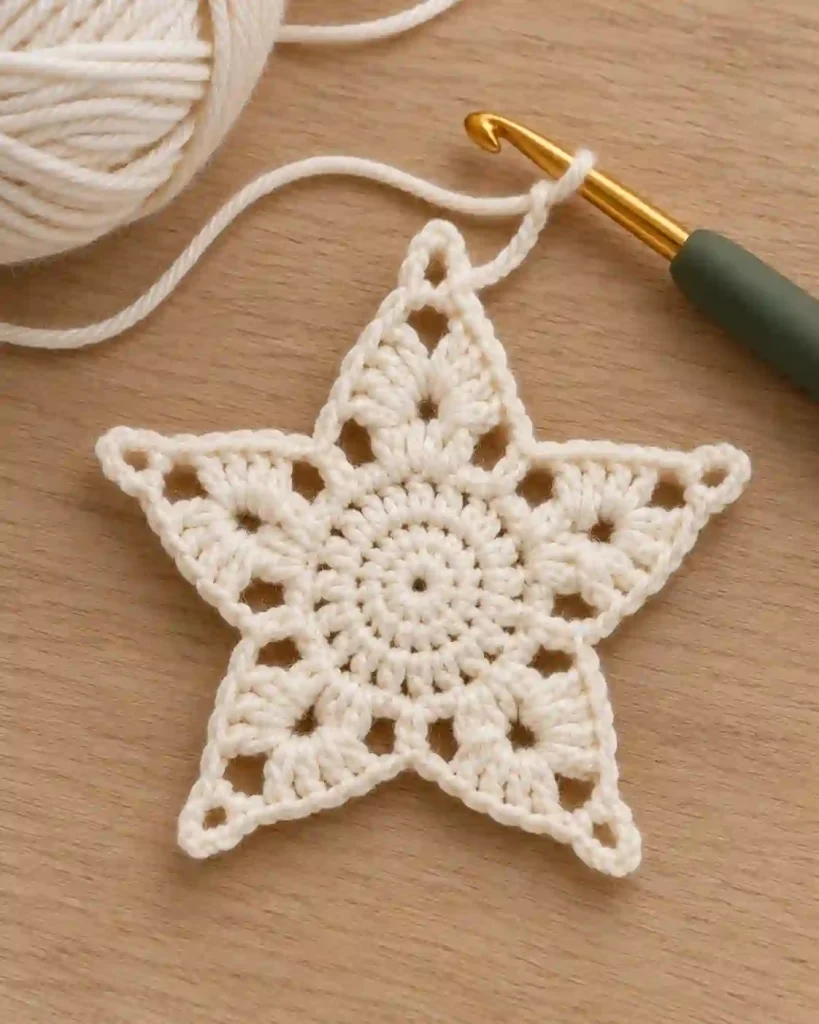
Step 2: Shape the Five Crochet Star Points
Each star point is worked into two consecutive foundation stitches.
The first stitch supports the point, while the second stitch anchors it.
Point instructions
Repeat the following sequence five times:
- Sl st into the next foundation sc.
- Ch 3.
- Work 1 dc into the same foundation sc.
- Ch 2.
- Work 1 dc into the same foundation sc.
- Ch 3.
- Sl st into the next foundation sc.
Continue until all ten foundation stitches have been used.
Total after five points:
- 5 star points
- 10 dc
- 5 ch-2 tip spaces
- 10 ch-3 side sections
- 10 anchoring sl sts
The chain-2 space creates the top of each point.
The chain-3 sections form the sloping sides, while the slip stitches secure the shape near the center.
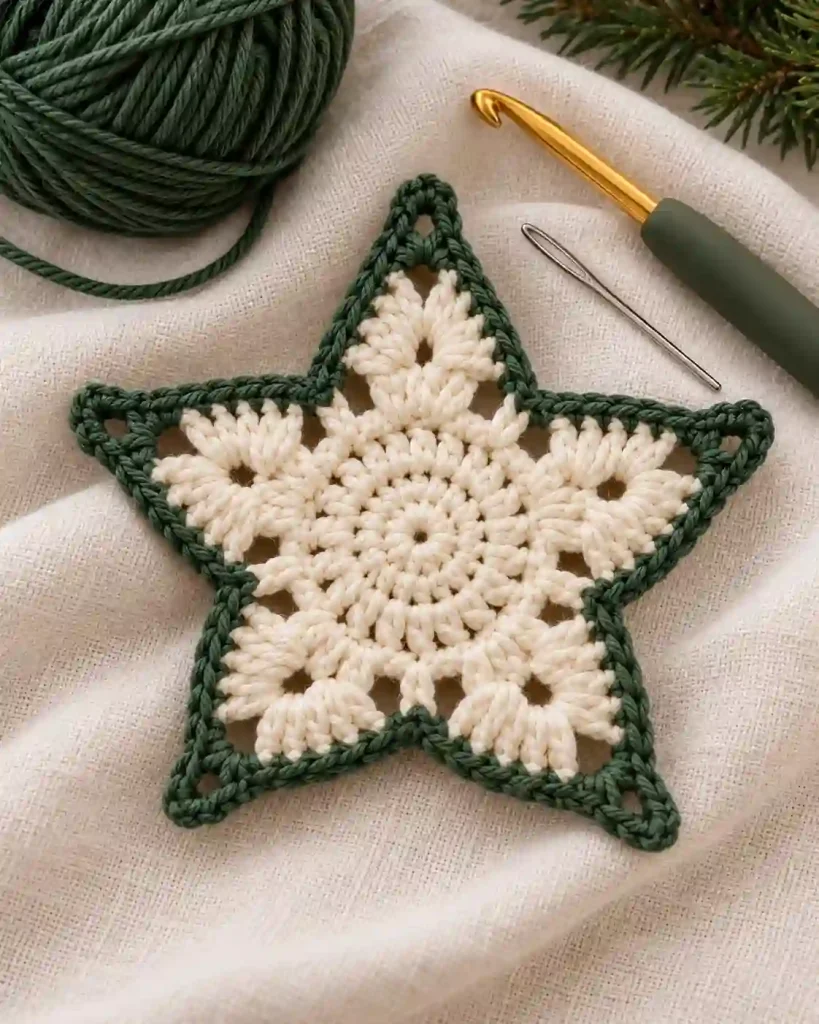
The Crochet Christmas Star Ornament Pattern should now have five distinct pointed sections arranged around the circular foundation.
Before continuing, check that each point has two double crochet stitches and one chain-2 tip space.
If one point looks noticeably different, review its chain lengths and stitch placement.
Do not fasten off yet.
Step 3: Add the Decorative Star Border
The final stage defines the outer edges of the five points.
Work around the exposed chain sections and double crochet stitches created in the previous stage.
Border instructions
Starting at the final valley slip stitch, work around each point as follows:
- Work 3 sc around the first ch-3 side section.
- Work 1 sc into the next dc.
- In the ch-2 tip space, work (2 dc, ch 2, 2 dc).
- Work 1 sc into the next dc.
- Work 3 sc around the second ch-3 side section.
- Sl st into the anchoring stitch at the valley.
Repeat the sequence for all five points.
Border stitch count:
- 40 sc
- 20 dc
- 5 ch-2 tip spaces
- 5 valley sl sts
The double crochet groups create the outer tips, while the single crochet stitches provide a neat transition toward each valley.
Keep your tension consistent so the points remain similar in size.
For the Crochet Christmas Star Ornament Pattern, a contrasting border color can highlight the star shape.
After finishing the fifth point, fasten off and leave a tail for weaving in.
Crochet Christmas Star Ornament Pattern: Assembly
This ornament is made in one piece, so there are no separate crochet components to sew together.
Instead, assembly involves securing the motif and attaching the hanging loop.
Place the completed star on a flat surface and check that all five points are evenly spaced.
If you used more than one yarn color, make sure the color-change ends are secured on the back.
Choose one point to become the top of the ornament.
Cut approximately 8–10 inches (20–25 cm) of ribbon, twine, or matching yarn.
Thread the hanging material through the chain-2 opening at the chosen tip.
Bring the ends together and tie a secure knot to create a loop.
Adjust the loop length depending on how you plan to display the star.
A shorter loop is convenient for Christmas tree branches, while a longer loop may work better for a garland.
Check that the loop is securely attached without pulling the top point out of shape.
Crochet Christmas Star Ornament Pattern: Finishing and Care
Use a tapestry needle to weave the remaining yarn ends through several stitches on the back of the star.
Avoid pulling the ends too tightly, as this may distort the center.
Gently spread the five points into a symmetrical shape.
If the ornament curls, consider blocking it using a method appropriate for your yarn.
Cotton yarn may respond well to gentle wet blocking, while acrylic yarn requires caution around heat.
Always check the manufacturer’s care instructions before washing or steaming.
To keep your Crochet Christmas Star Ornament Pattern decoration looking neat, store it flat and avoid placing heavy objects on the points.
Before displaying the ornament, inspect the hanging loop, check for loose yarn ends, and make sure the star is completely dry.
Store finished ornaments in a clean, dry container between holiday seasons.
FAQs and Troubleshooting for Crochet Christmas Star Ornament Pattern
1. Why does my crochet star have uneven points?
Uneven points often result from incorrect stitch placement or inconsistent tension.
The foundation should contain exactly ten single crochet stitches.
Each point uses two consecutive foundation stitches.
Make sure all five points contain the same chain lengths and double crochet stitches before beginning the border.
2. Why is my crochet Christmas star curling?
Curling may happen if your stitches are too tight or if the border pulls inward.
First, verify the stitch counts.
If they are correct, gently shape the star and consider blocking it using a method suitable for your yarn.
A slightly larger crochet hook may also help if your tension is consistently tight.
3. Can I use cotton yarn instead of acrylic?
Yes. Cotton is a practical choice for flat crochet ornaments because it provides clear stitch definition.
Choose cotton yarn with a similar thickness to the recommended worsted weight.
The finished star may feel firmer than an acrylic version.
Always follow the yarn label for washing and blocking instructions.
4. How can I make a larger or smaller star ornament?
To make a larger star, use thicker yarn and a larger hook.
For a smaller ornament, use thinner yarn and a corresponding smaller hook.
Keep the same stitch counts and construction sequence.
Changing the yarn weight is generally easier than modifying the number of stitches in each point.
5. Can these crochet stars be washed and reused?
Yes, provided the yarn and hanging materials are suitable for cleaning.
Follow the yarn manufacturer’s care recommendations.
Remove delicate ribbons if necessary, and reshape the ornament while it dries.
Store the finished star flat in a clean, dry place to help maintain its appearance for future Christmas seasons.
Final Thoughts
This Crochet Christmas Star Ornament Pattern is a simple way to create beautiful handmade holiday decorations with leftover yarn. Make several stars in festive colors to decorate your Christmas tree, gifts, or garlands. For more holiday crochet inspiration, try our Easy Crochet Snowman Pattern and Crochet Christmas Tree Ornament Pattern to complete your handmade Christmas collection.